How to Repot a Houseplant Using Peat-Free Soil
Repot a houseplant with these super-easy tricks. They will help your plants have a long life and bring beauty and emotional therapy into your life. Keep your indoor garden in a healthy properly-potted shape and be rewarded with happy plant friends.
Why Should I Repot a Houseplant?
One of the most important parts of plant maintenance is keeping the roots of your plant friends happy. You do this by ensuring the roots are receiving proper nutrition, consistent moisture, and appropriate space to grow. If the plant is getting enough light and the roots are happy, chances are the plant will succeed.
Repotting a plant, sometimes called up-potting, is especially important if your plant is root-bound. Pull your plant out of its existing pot. Take a close look at the roots. You can visually see if the roots are a solid knotted mass, indicating it is rootbound. If there is significant soil surrounding the root ball, then it is not root-bound.
Reasons to Repot a Houseplant in New Soil
Another concern is if the soil in the pot is not supplying proper nutrition and water absorbency. If the pot has been getting too much moisture, the soil can become moldy. Should the soil no longer absorb water, it has become hydrophobic. If the plant is new from the nursery, it might be planted in a soilless planting mix. The houseplant might be looking off-color or undernourished. All of these things can indicate a need for a repot.
When to Repot a Houseplant
In our excitement of purchasing a new plant friend, we are likely to bring the plant home and immediately repot it. Experts feel that giving new plants up to a week to acclimate to your home’s unique climate conditions can help the plant’s survival rate. Once the plant has had some time to get used to its new digs, it is ready to be repotted.
If a houseplant has stayed in the same pot for years without a soil change, it can benefit from a report. Fresh soil can breathe new life into a plant. Dependent upon the plant’s root crowding situation, you can choose to leave it in the same pot or move it up in size.
Repotting is a stressful experience for the plant. Reducing the stress on the plant during the repotting experience can extend the life of your plant friend. Do this by not repotting in excessively hot or cold conditions. The best time is to pot in spring or summer, do not repot your plant in winter if at all possible.
How Big Should the New Pot be for a Houseplant
How large the pot is will depend entirely on the plant. Generally speaking, if your houseplant is seriously rooted bound, it will need more soil surrounding its root base. Move plant-friends into a new pot that is no more than two- to three inches larger. Too much soil can sometimes bring too much moisture to the root zone. Baby-stepping up to larger containers once per year or every couple of years makes more sense.
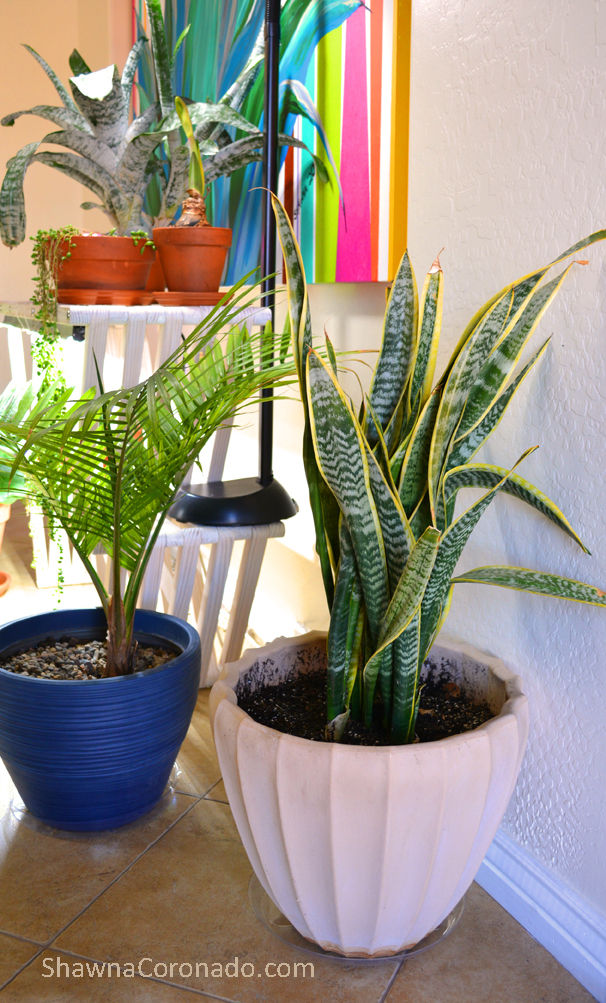
Sometimes we can make exceptions with the size of the pot. I have several rapid-growing snake plants. These snake plants (right) grew so quickly on my patio garden that they quickly overtook their home. Anticipating fast growth and understanding that snake plants do not need constrained roots, I decided to rehome my plant friends in much larger pots.
What Type of Pot Should I use to Repot a Houseplant
The best container to use for repotting is based specifically on your plant’s needs. Ceramic and plastic pots are more likely to hold moisture longer. Clay or terra cotta pots are very porous and enable the houseplant to dry out more quickly.
Most importantly, the container should be food-safe if possible as fewer chemicals will leach into your plant’s root system. The pot should have a drainage hole in order to release excess water. Without a drainage hole, plants can suffer root rot.
Why Use Peat-Free Soil for Houseplants
When peat is used in potting media, it often packs in hard and can refuse to drain properly or re-hydrate. It can easily become hydrophobic. This dry mass of soil provides little nutrition to your plants and will not hold water. This is especially important if you have a houseplant that requires a loose, well-drained potting mix.
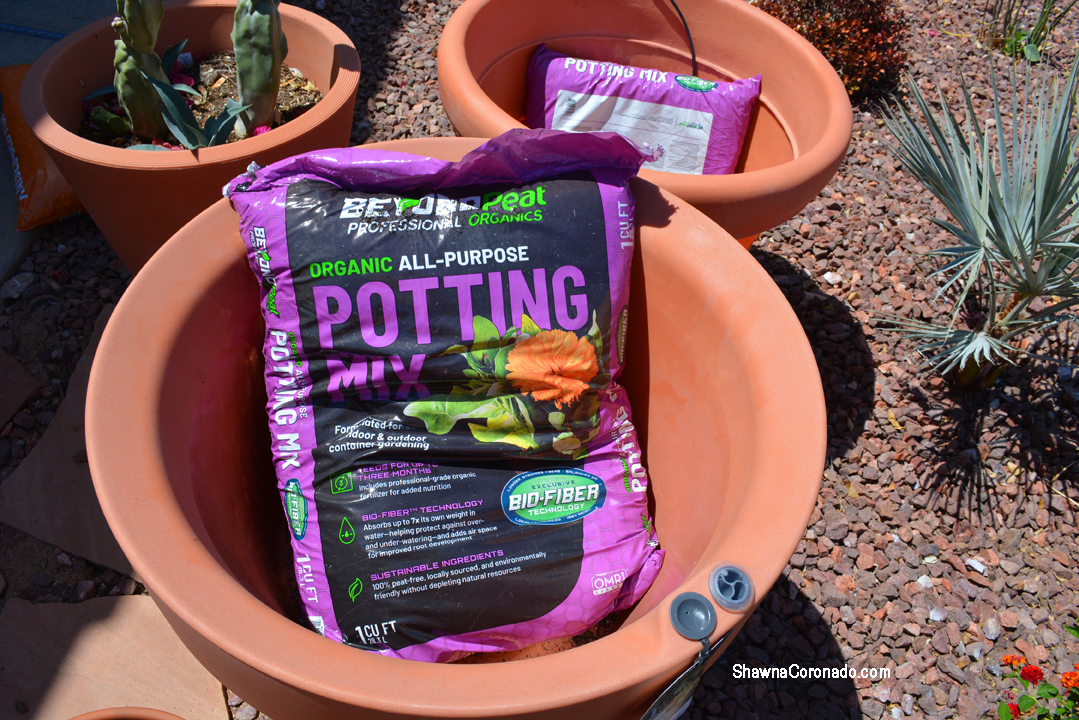
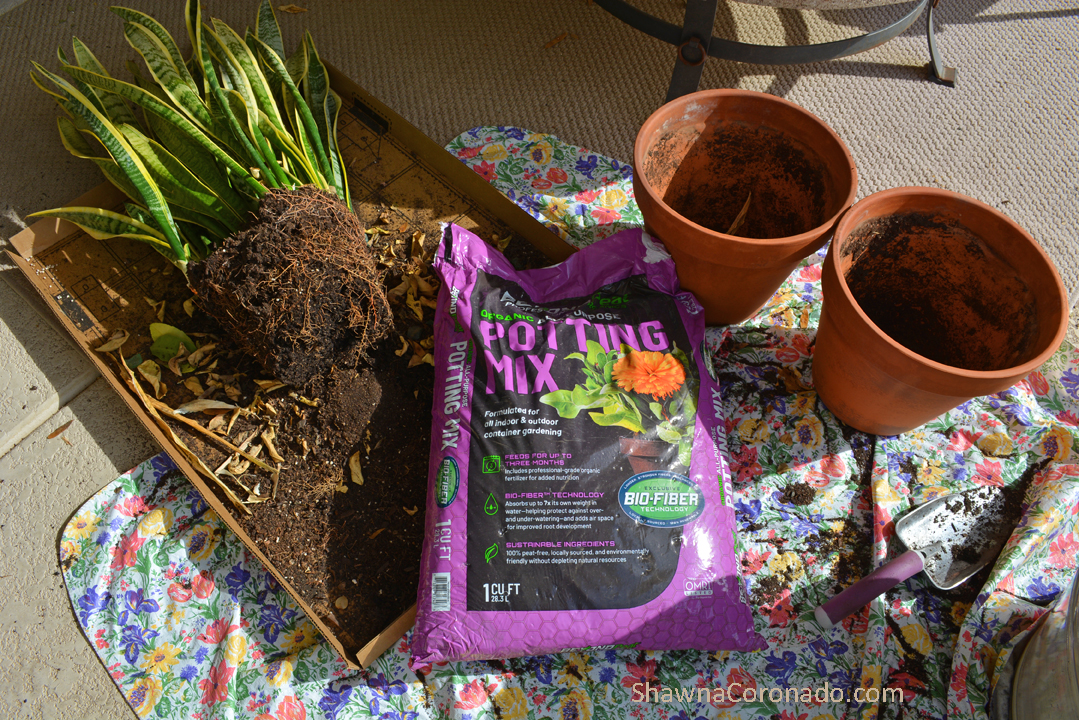
Peat-free soil is also better for the environment. Peat bogs store soil carbon; nearly one-third of the earth’s total soil carbon. Because peat is so slow to regenerate, it is important that we restrict over-harvesting of this important ecosystem. Soil engineered without peat will help your garden and community. This season I am using an OMRI® certified organic product, Beyond Peat™ Professional Organics Potting Mix , with great success. It has organic fertilizer already mixed in to the soil.
10 Steps on How to Repot a Plant
- Water the plant several days before you plan to repot. This helps reduce root shock.
- Gently remove from the original pot by tipping the plant container.
- Loosen the root ball and drop the plant into your hand. Be careful not to harshly tug on leaf stems if you are removing a larger plant. Let gravity aid you.
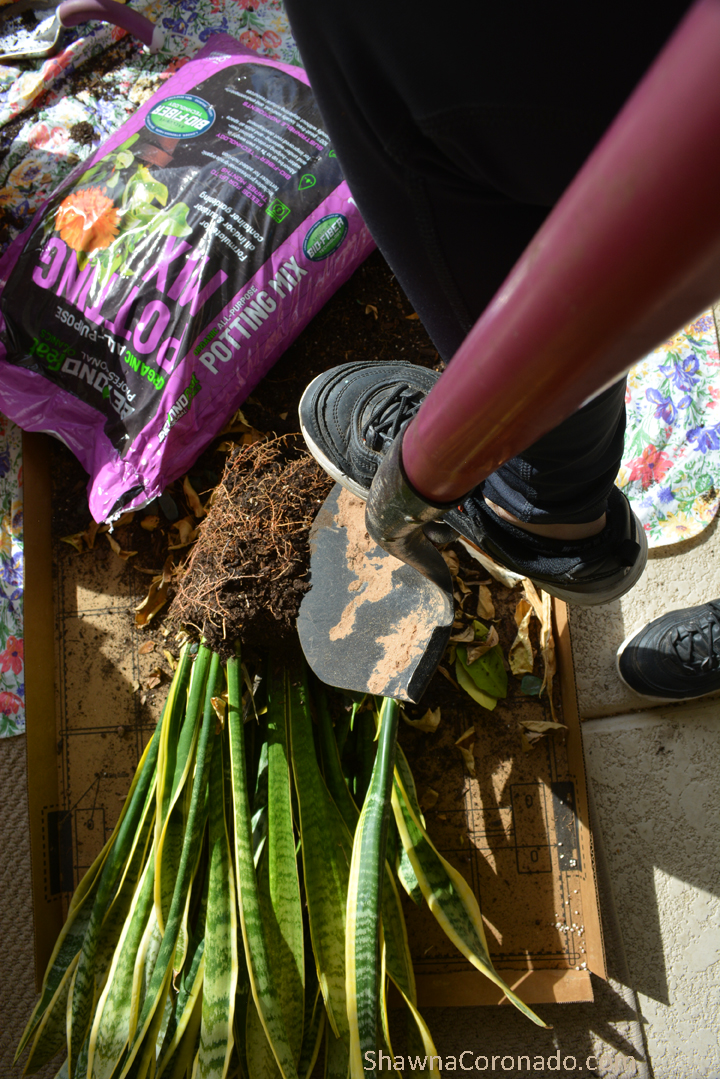
- If dividing the plant, you must slice the plants root ball with scissors or a shovel or gently pull roots apart.
- Use scissors or pruning shears to cut away old or damaged roots.
- Fill your new container one-third of the way full with a mix of the old soil and fresh potting mix.
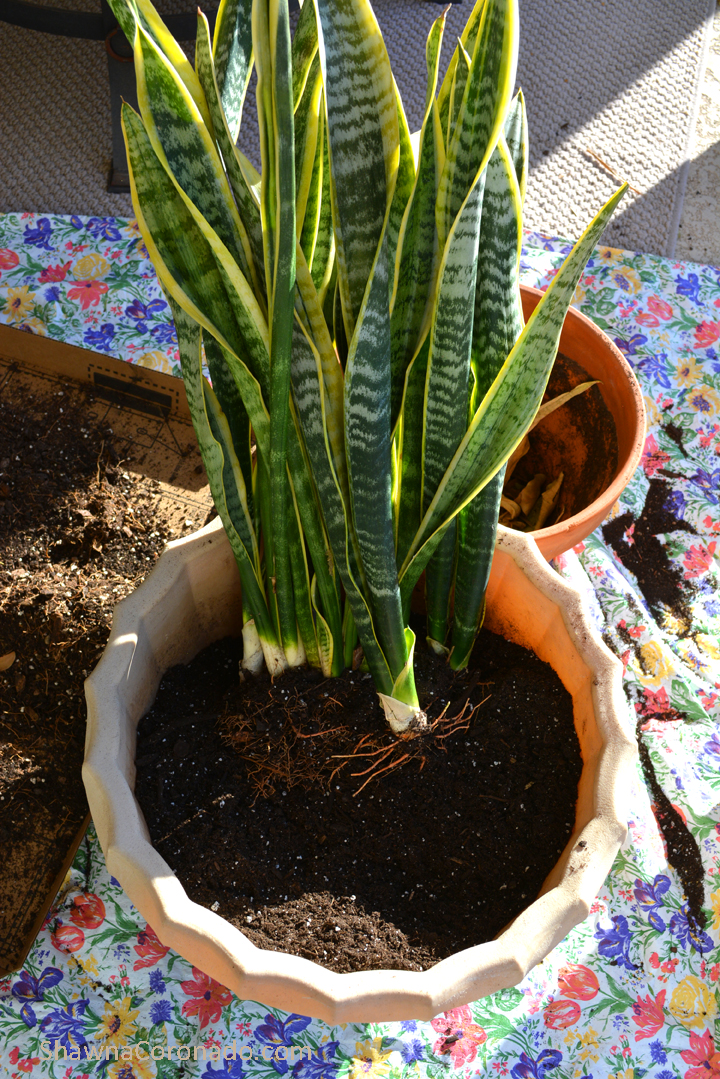
- Balance root ball on top of the soil. Make sure the top of the root ball rests slightly below the top edge of the container.
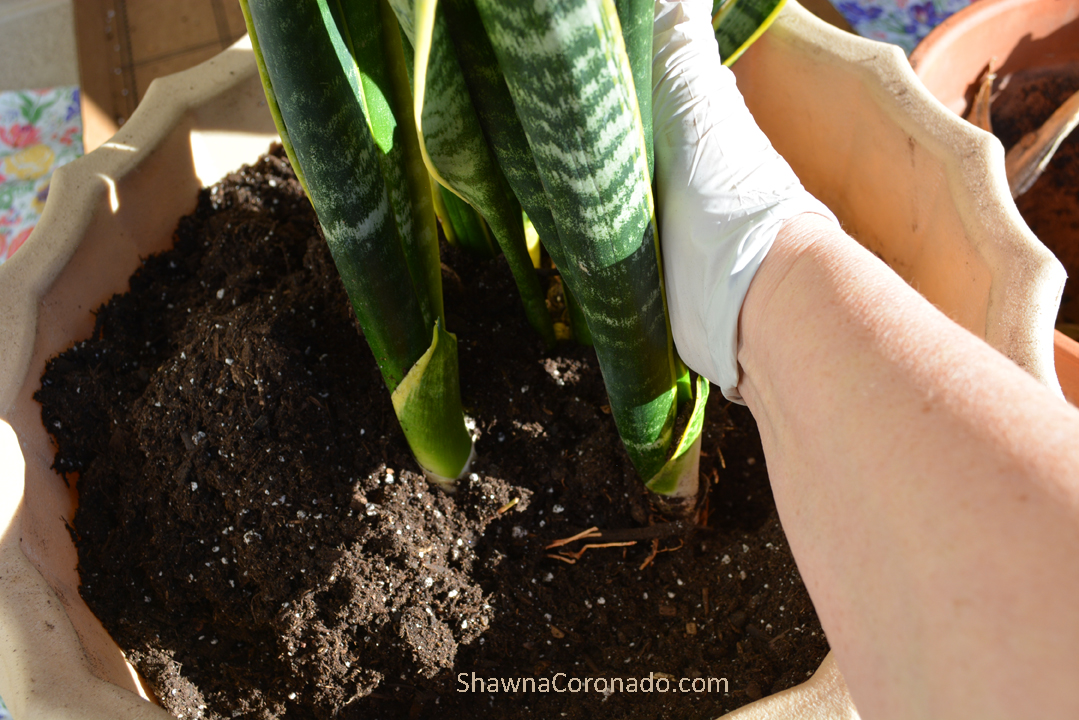
- Fill in surrounding areas with fresh new soil that has had organic fertilizer mixed in. Make sure the pot looks full.
- Water in the new soil, let settle.
- Come back to the newly potted plant after an hour or so. If the soil has lowered considerably, add a bit more soil. There should be enough room at the top of the pot to water regularly.
My Personal Houseplant Progress
In the case of my snake plant, I had to entirely tip the pot on its side to remove it. First, I loosened the soil with a shake and a thump, then pulled off the clay pot (above). The plant was definitely rootbound. I divided the snake plant into several large pieces by cutting its root system with a shovel (above).
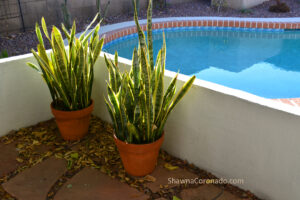
Once I divided the plant, I repotted it in three different pots. These pots were a bit oversized, but I know that my snake plants grow rapidly and are not harmed by jumping up a few steps in pot size. I kept two of the pots outdoors and brought one new plant friend indoors to enjoy him up close. They have been doing really well with the Beyond Peat™ Professional Organics Potting Mix .
Watering Tips for Houseplants
Once you repot a houseplant it is as simple as getting the new plant or repotted plant into a normal routine. My houseplants get a thorough watering every Monday morning. Arizona is very dry, so I have learned just how much to water each plant.
If you would like guidance in determining when and how much to water your houseplants, I recommend you purchase a soil moisture meter. This tool enables you to track moisture where it lives; in the root system.
Generally speaking, houseplants that are tropical plants need to be watered once to twice per week. Succulents and cactus require far less regularity. They can be watered up to four weeks apart. When light increases during the summer months, some plants require more water. Fertilize with an organic liquid fertilizer regularly when watering.
Repot a houseplant in peat-free soil. It is good for the environment and can be a rewarding and successful experience, to bring new life to an old plant friend.