How to Harvest Microgreens
How to harvest microgreens after you have grown them. It is a simple process, and you can learn how to get the How to Grow Microgreens e-Book below. Microgreens are a great tool for growing indoors (or outdoors) which offers a food solution in very little space. Clearly, they are teeny-tiny little superheroes. They can have up to 40 times the nutritional density of a full-sized vegetable.
Growing your greens in a growing tray by planting seeds and having them grow under lights or in a sunny window can produce an abundance of delicious food for your family. Once your microgreens are produced, it is time to harvest the salad confetti so you can utilize the greens for food. Below is a short guide on how to harvest microgreens.
How to Harvest Microgreens in Easy Steps
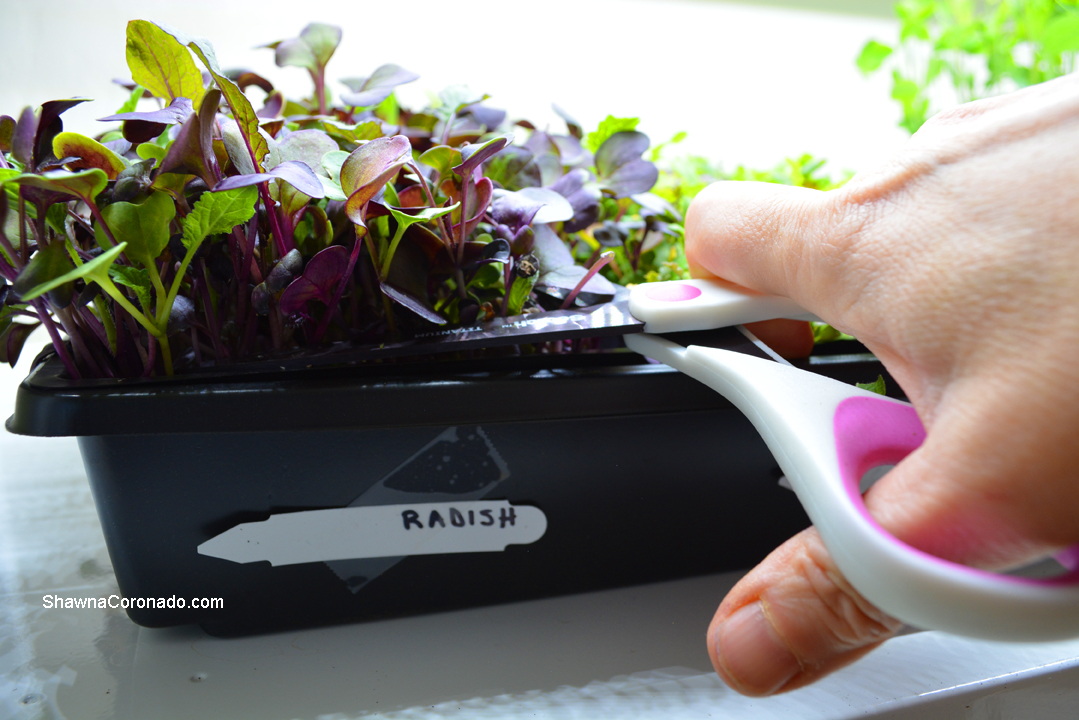
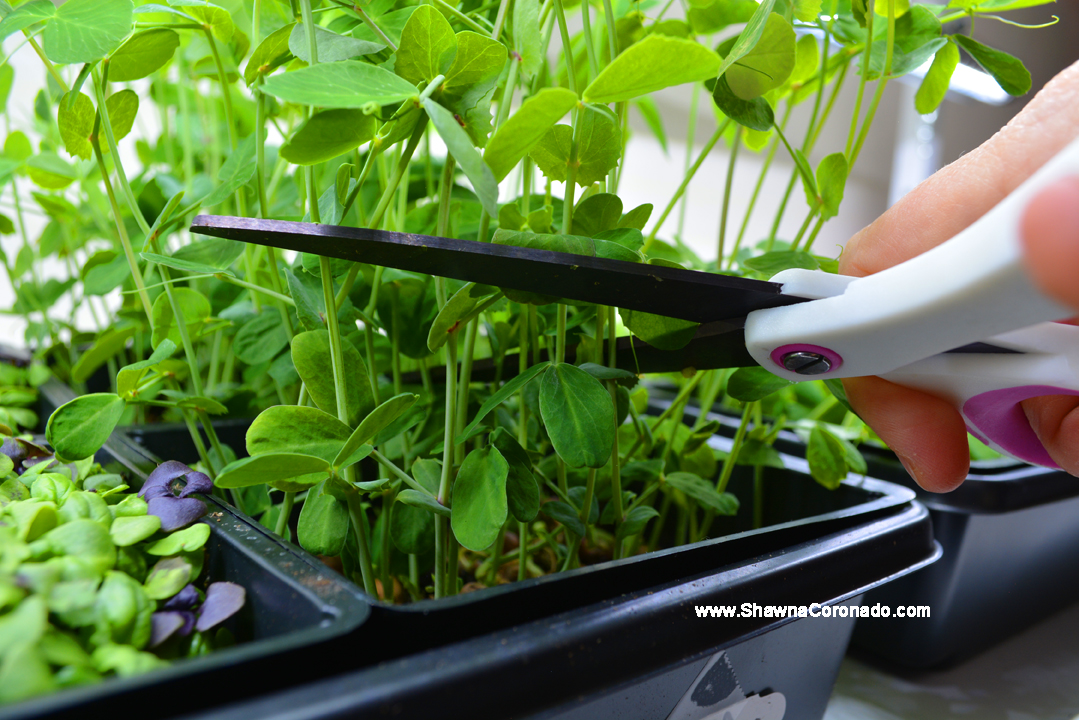
- Use scissors – Harvest microgreens in 6 to 21 days by trimming with scissors immediately above the soil line in its growing tray. Do not pull microgreens out of the soil directly because you will be left with more dirt from the soil. It is messier and it disturbs the roots if you have a cut and come again system.
- Cut and come again – Should you want your microgreens to grow back after initial harvest, cut a bit higher to leave extra stem and one leaf if possible. This will encourage regrowth.
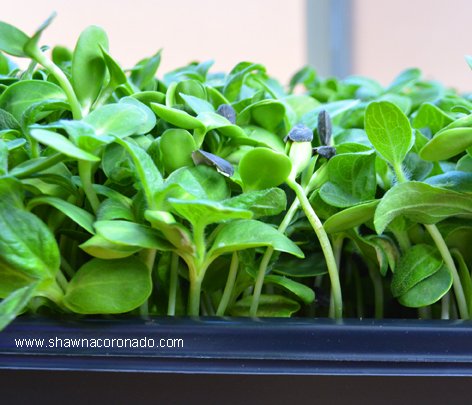
- Wash and de-hull your microgreens – Chances are you will not need to wash your microgreens once harvested unless you see fungal problems or excess soil on the plants after snipping. If you rinse them in water then use a salad spinner or pat them with a paper towel to remove excess moisture. However, if your sprouts have “hulls” on, they will need to be removed (see below instructions).
- Store microgreens – After you learn how to harvest microgreens, you will need to store the vegetable. These tiny superheroes are best stored in a plastic bag or glass container in your refrigerator. It is effective to place a napkin or paper towel inside the storage unit with the microgreens. This prevents moisture build-up or molding issues and encourage a longer storage period.

How to De-hull Sprouts or Microgreens in Easy Steps
- Float greens – Fill a bowl with cold water, place the greens in the water.
- Swish greens – Pull sprouts apart and shake or swish gently, the hulls will pull away and float.
- Strain greens – Using a fine mesh strainer and scoop the hulls off the top of the water.
- Drain greens – Remove as much excess water as you can by straining or draining sprouts or utilizing a salad spinner.
Sanitize Microgreen Trays and Store
Once you harvest your microgreens it is time to sanitize the trays. Dump out all the old soil and roots into a compost bin. Wash the trays with soap and water. Spray the trays with hydrogen peroxide, then wipe dry and store. Ready to start your next microgreen round in your planting tray systems.

Join The Wellness Garden Good Health Club and Get a Grow Microgreens Guidebook
Want to learn more about growing microgreens, then now is the time to get them How to Grow Microgreens e-Book as a benefit of joining The Wellness Garden Good Health Club. The Good Health Club is a great place to find friendship and support, guides, exclusive classes, ideas, tips, and videos to jump-start your exercise, weight loss program while reducing chronic inflammation, and keeping you on point with your wellness plan.
CLICK HERE
TO BECOME A MEMBER OF
THE WELLNESS GARDEN GOOD HEALTH CLUB