A Fairy Garden Built from Pallets and Stumps
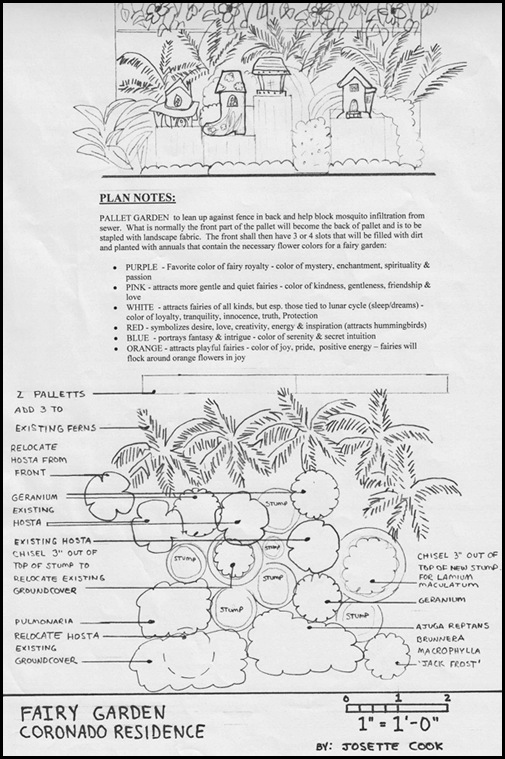
Years ago I built a shade fairy garden along my back fence. It served as a lovely spot for tea and crumpets with my little girl. It introduced the idea of fantasy and whimsy into the garden. My little girl has grown up and the garden needs a change, so I challenged my garden helper, Josette Cook, to come up with an amazing new sustainable fairy garden plan (see below).
The Fairy Garden Design
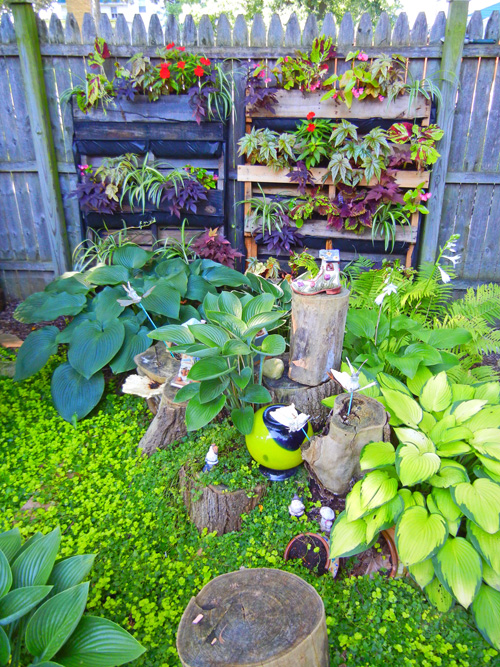
Josette created a marvelous idea which combined the existing logs and plants with a backdrop of a reused pallet wall garden. Late summer we built the fairy pallet garden together and added a very special “reduce, reuse, and recycle” touch to my back yard shade garden. We added fairy houses, fairy doors, and lots of shade plants.
How to Build a Fairy Pallet and Stump Garden for the Shade
1. Step One Stump Garden –
First, build the front section of the garden, being sure to leave enough space at the back so you can lean the pallets against the fence. Begin with a pile of soil shaped into a cone. I used old soil from previous years containers, building a conical fairy mountain by placing old stumps and logs around the cone shaped pile of soil.
2. Step Two Shade Ground Plantings –
Add fresh soil on top of and around the stumps and plant the fairy mountain and surrounding area with shade perennials that will work in your garden zone (see plan above for further ideas). I used hosta and fern for the back and sides of the garden and a groundcover – golden creeping jenny – for the front section of the garden.
3. Step Three Scrounge a Pallet
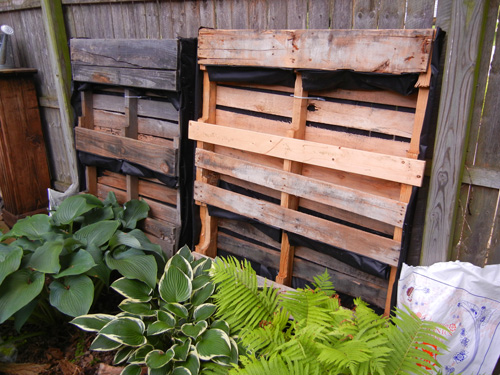
Find an old used pallet from a friend or on a website like Freecycle.org. Decide which side of the pallet you would like to face front. We chose a side that had more space to hold the plants because several boards were missing.
4. Step Four Assembly Warning
WARNING – USE GLOVES AND DO NOT PLANT WITH EDIBLES. Most pallets in the United States have been sprayed with chemicals, so it is dangerous to consume foods grown in pallets. Unless it has been heat treated only or you know exactly what the materials in the pallet are, I would be incredibly cautious about planting in a spot where people might regularly be touching the pallet. Be very cautious and do not use a pallet if you suspect it has carcinogenic ingredients.
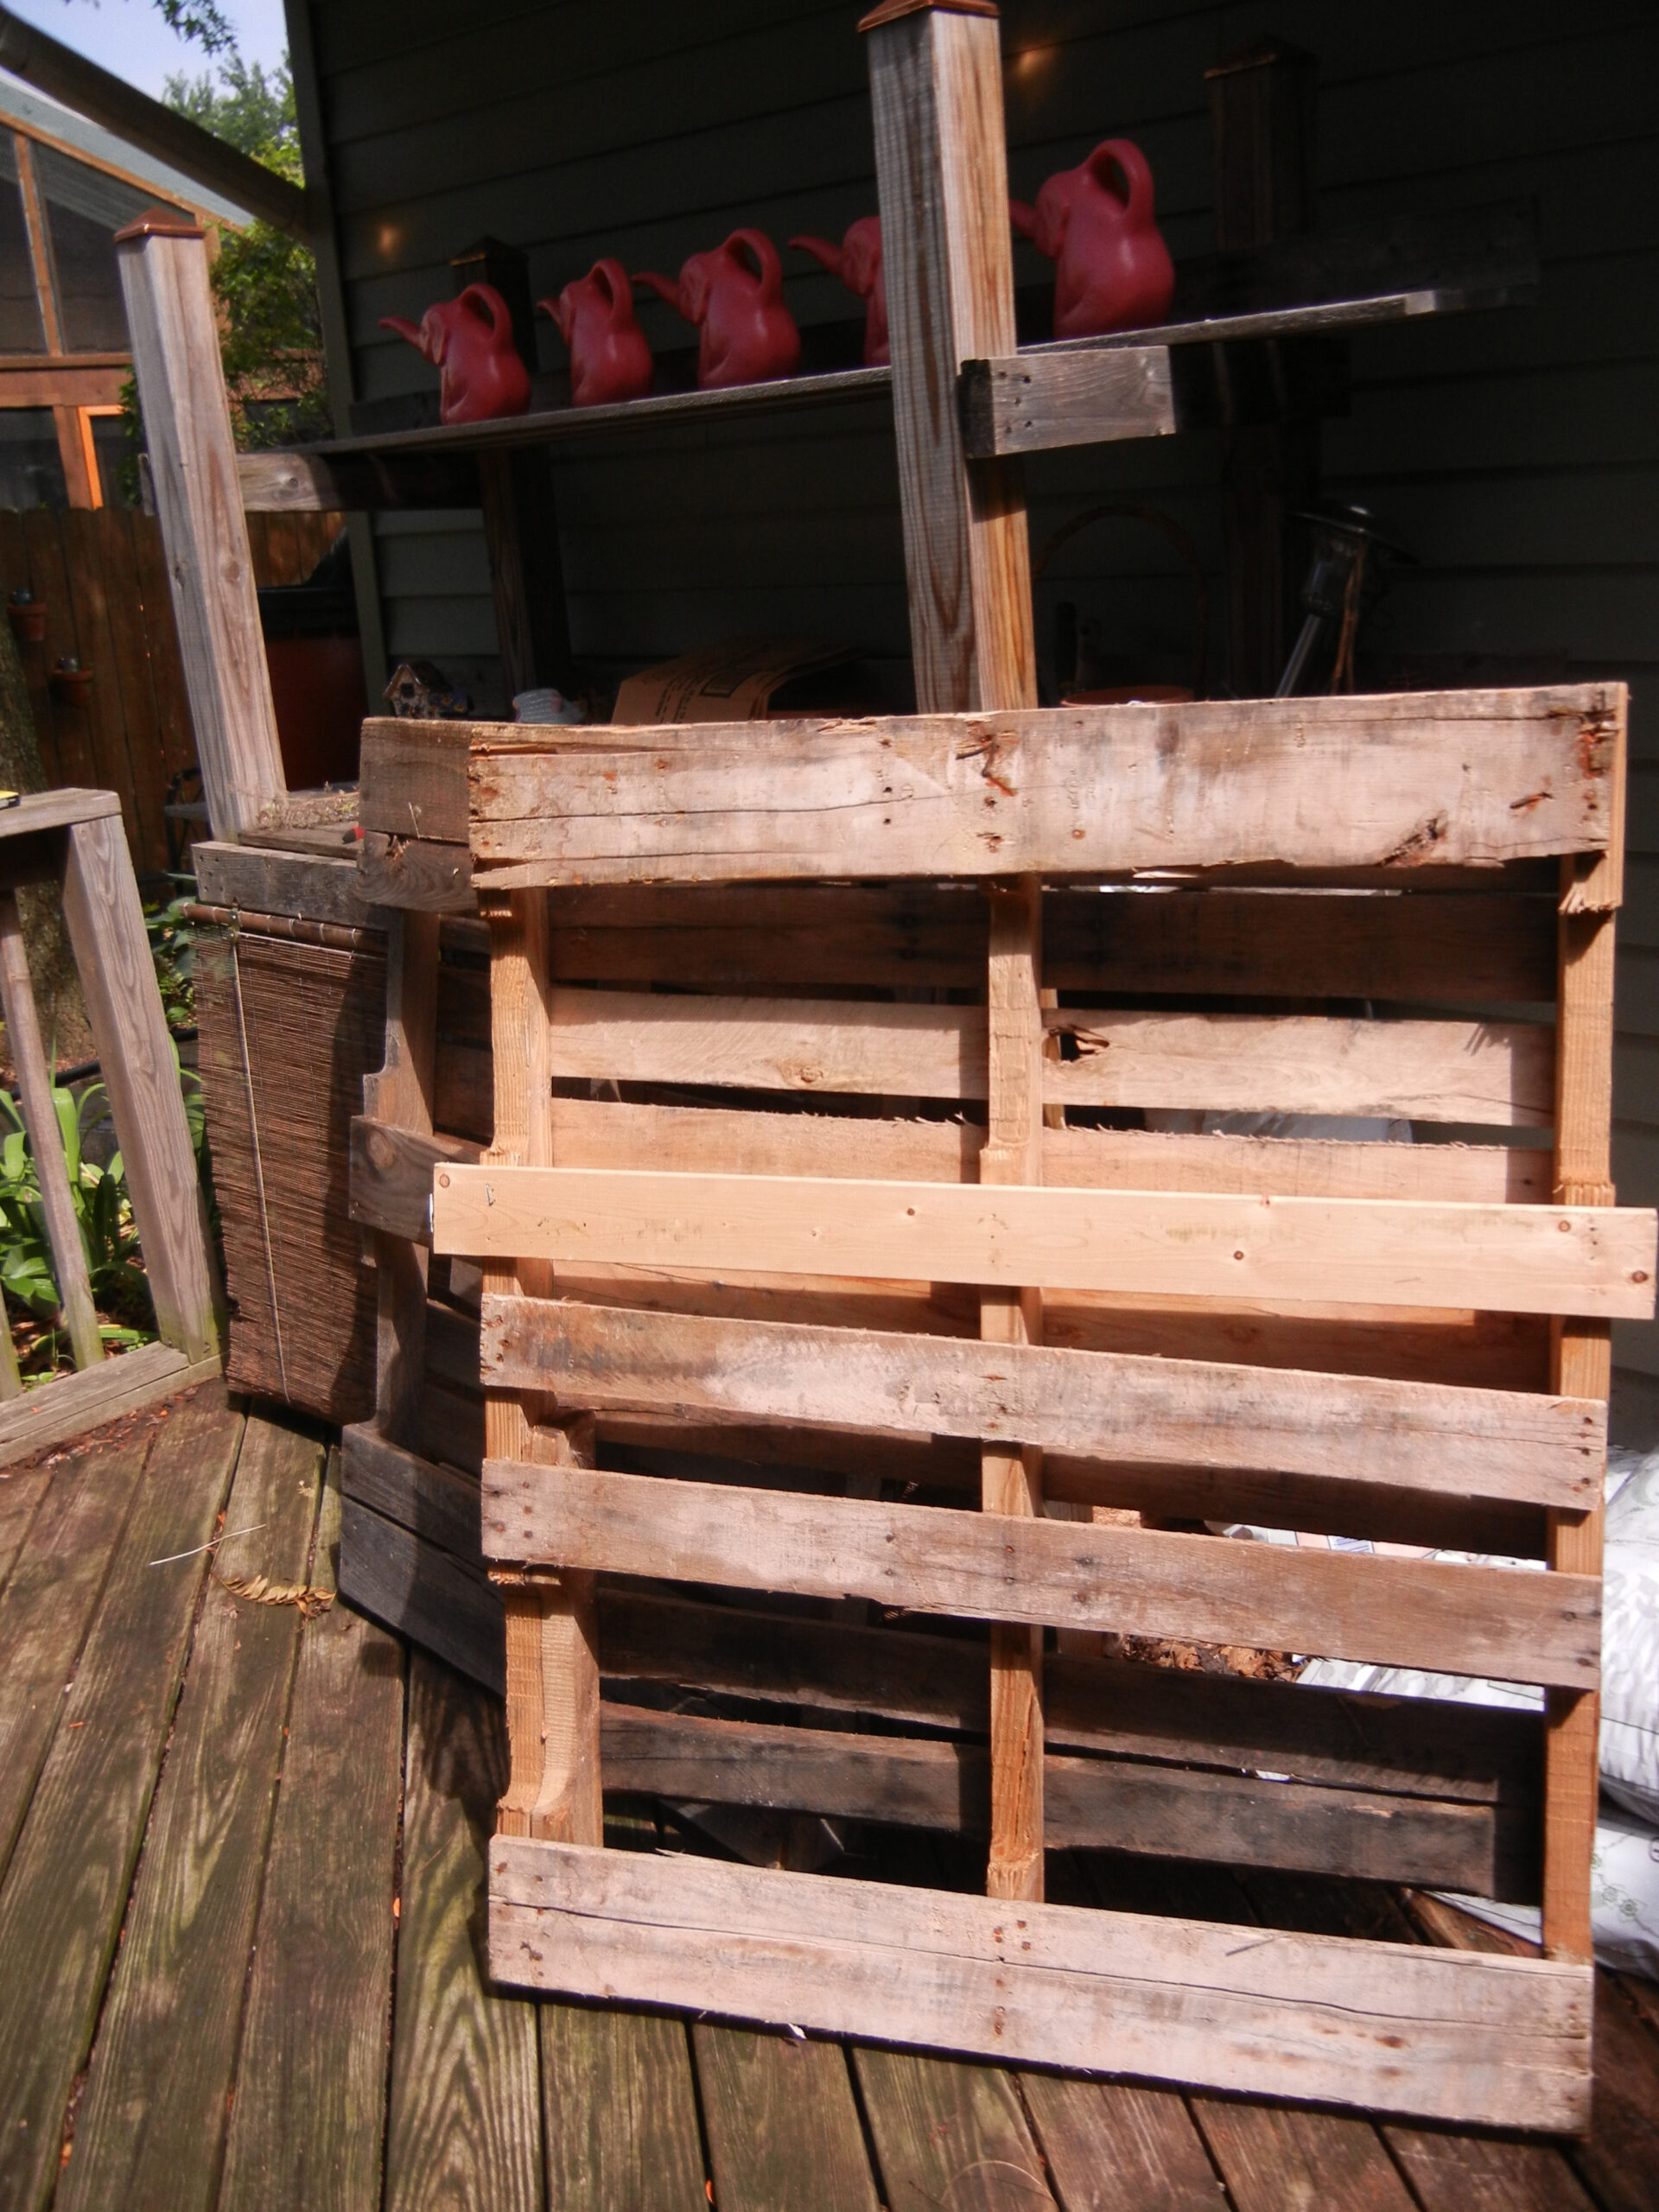
5. Step Five Staple Landscape Fabric
Staple black landscape fabric firmly over the back side of the pallet so soil will not escape out the back. Use an industrial staple gun
if possible.
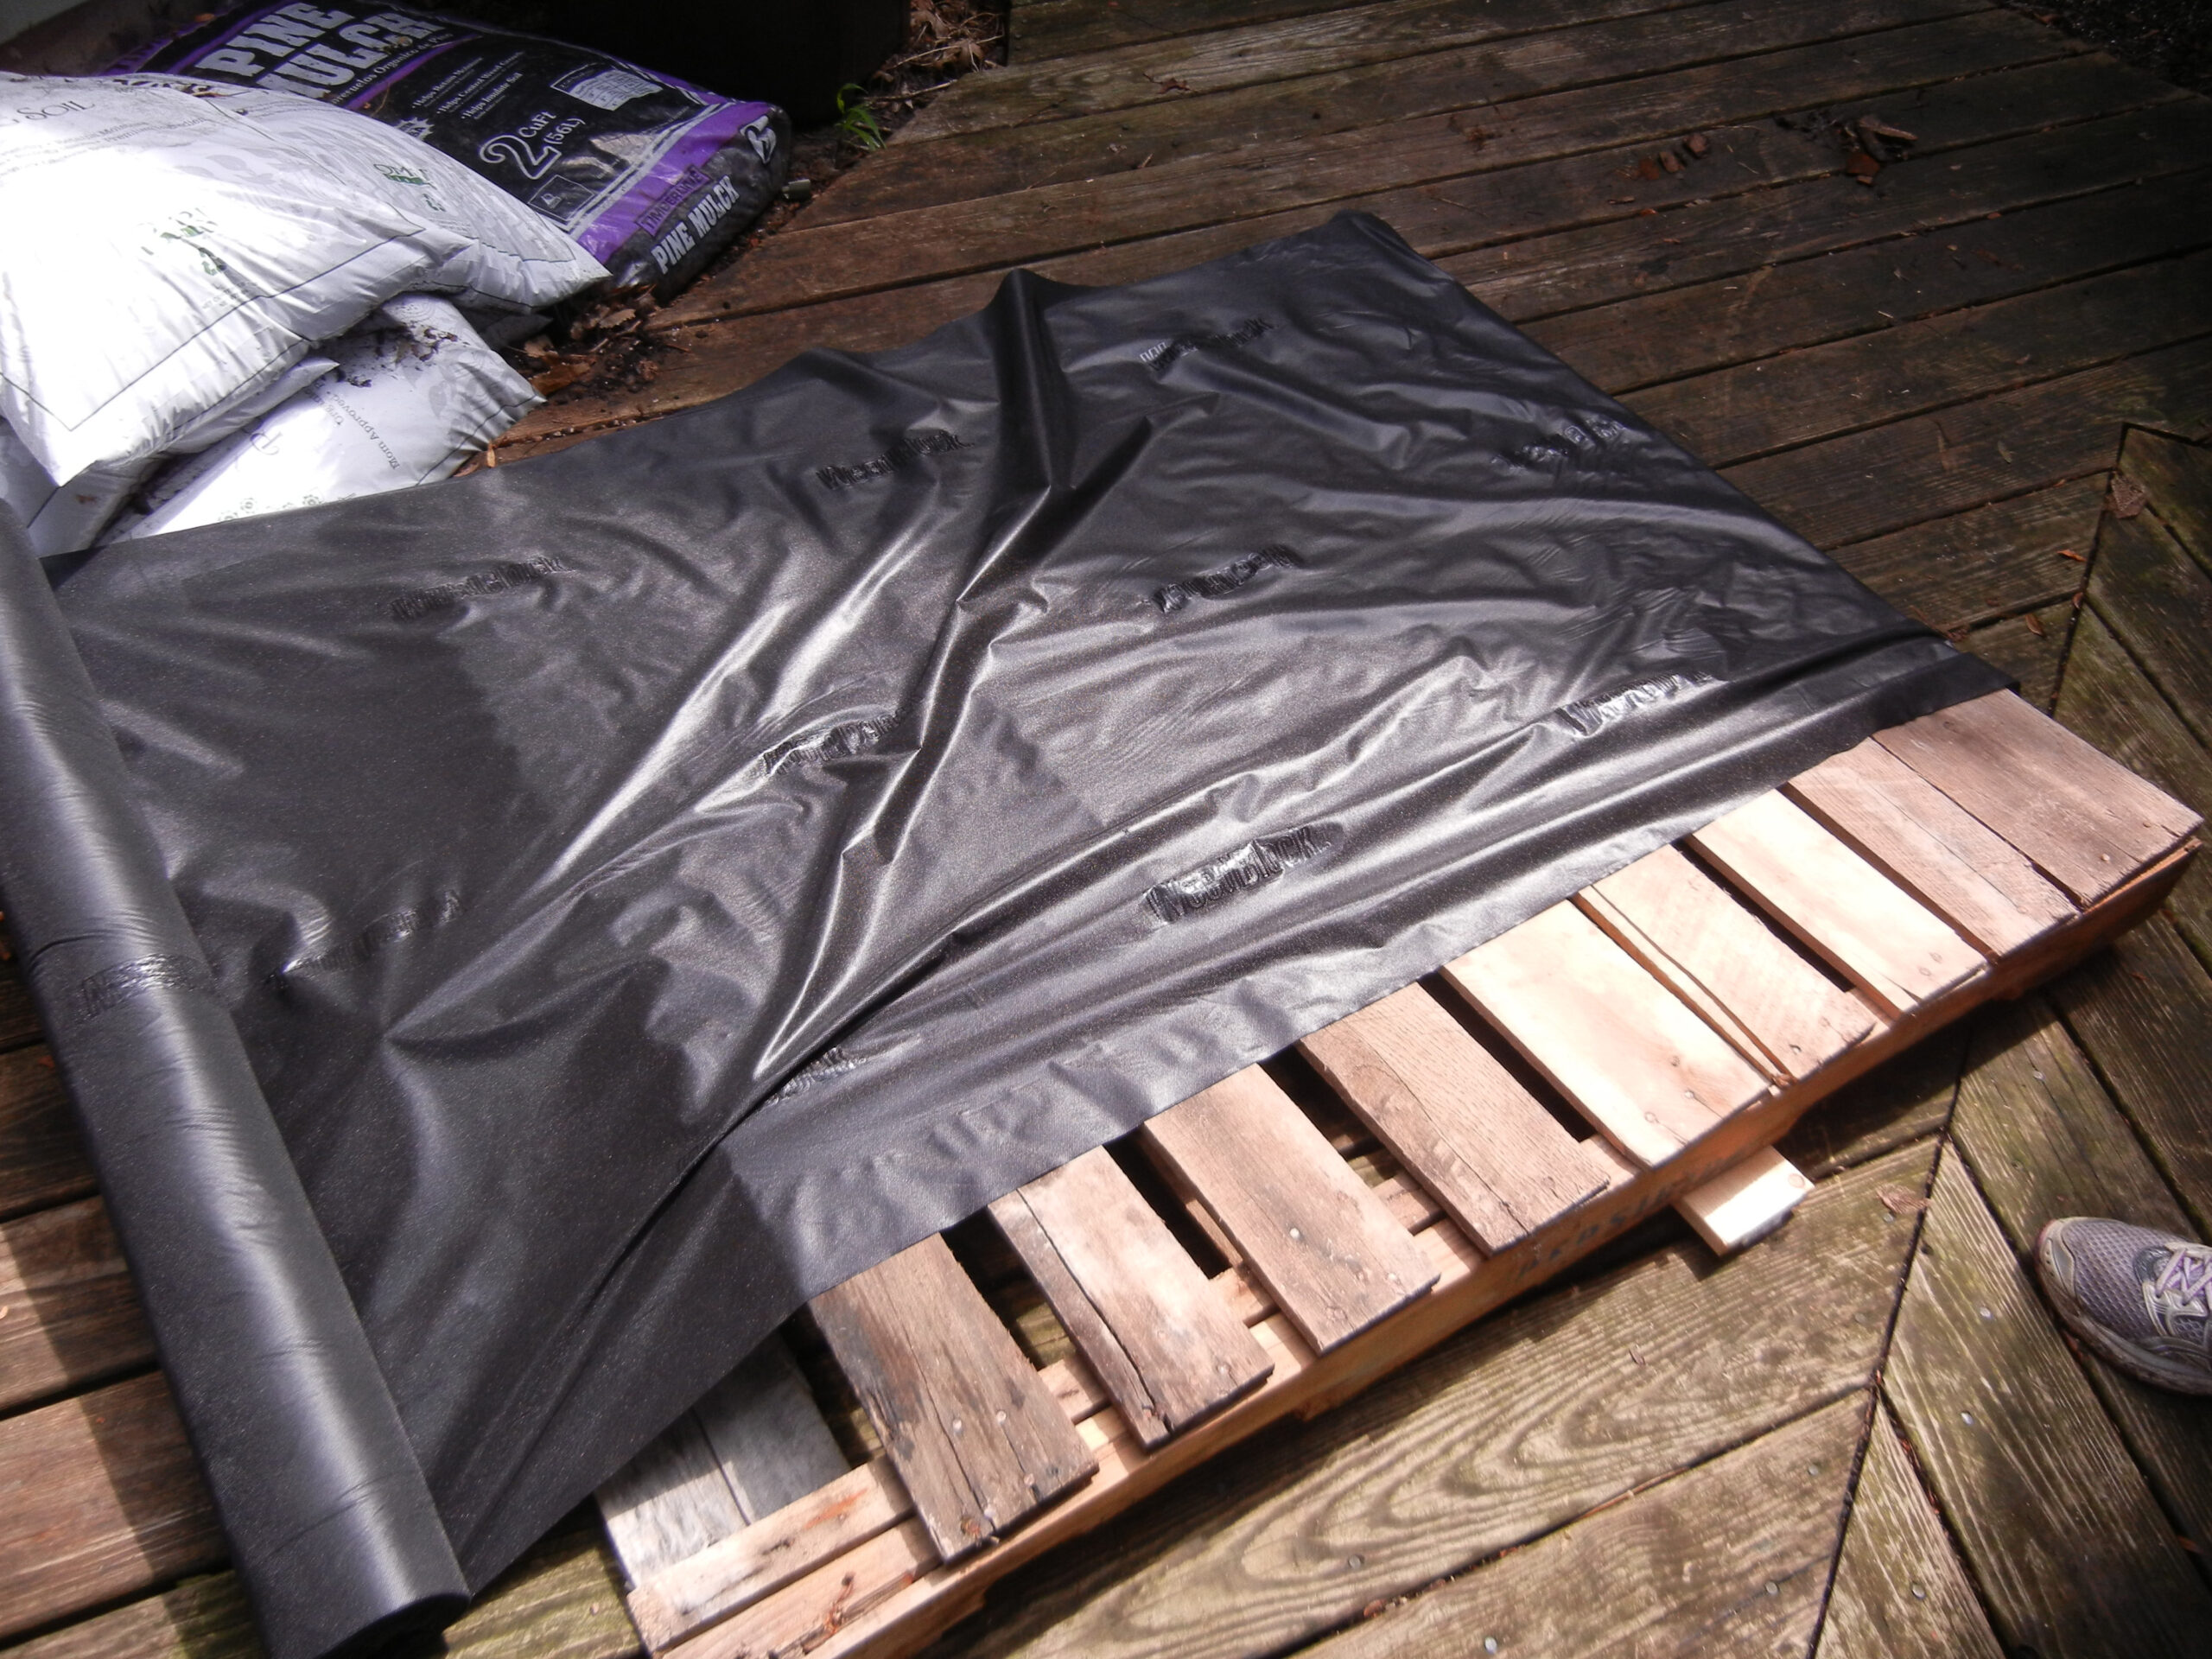
6. Step Six Build Pockets
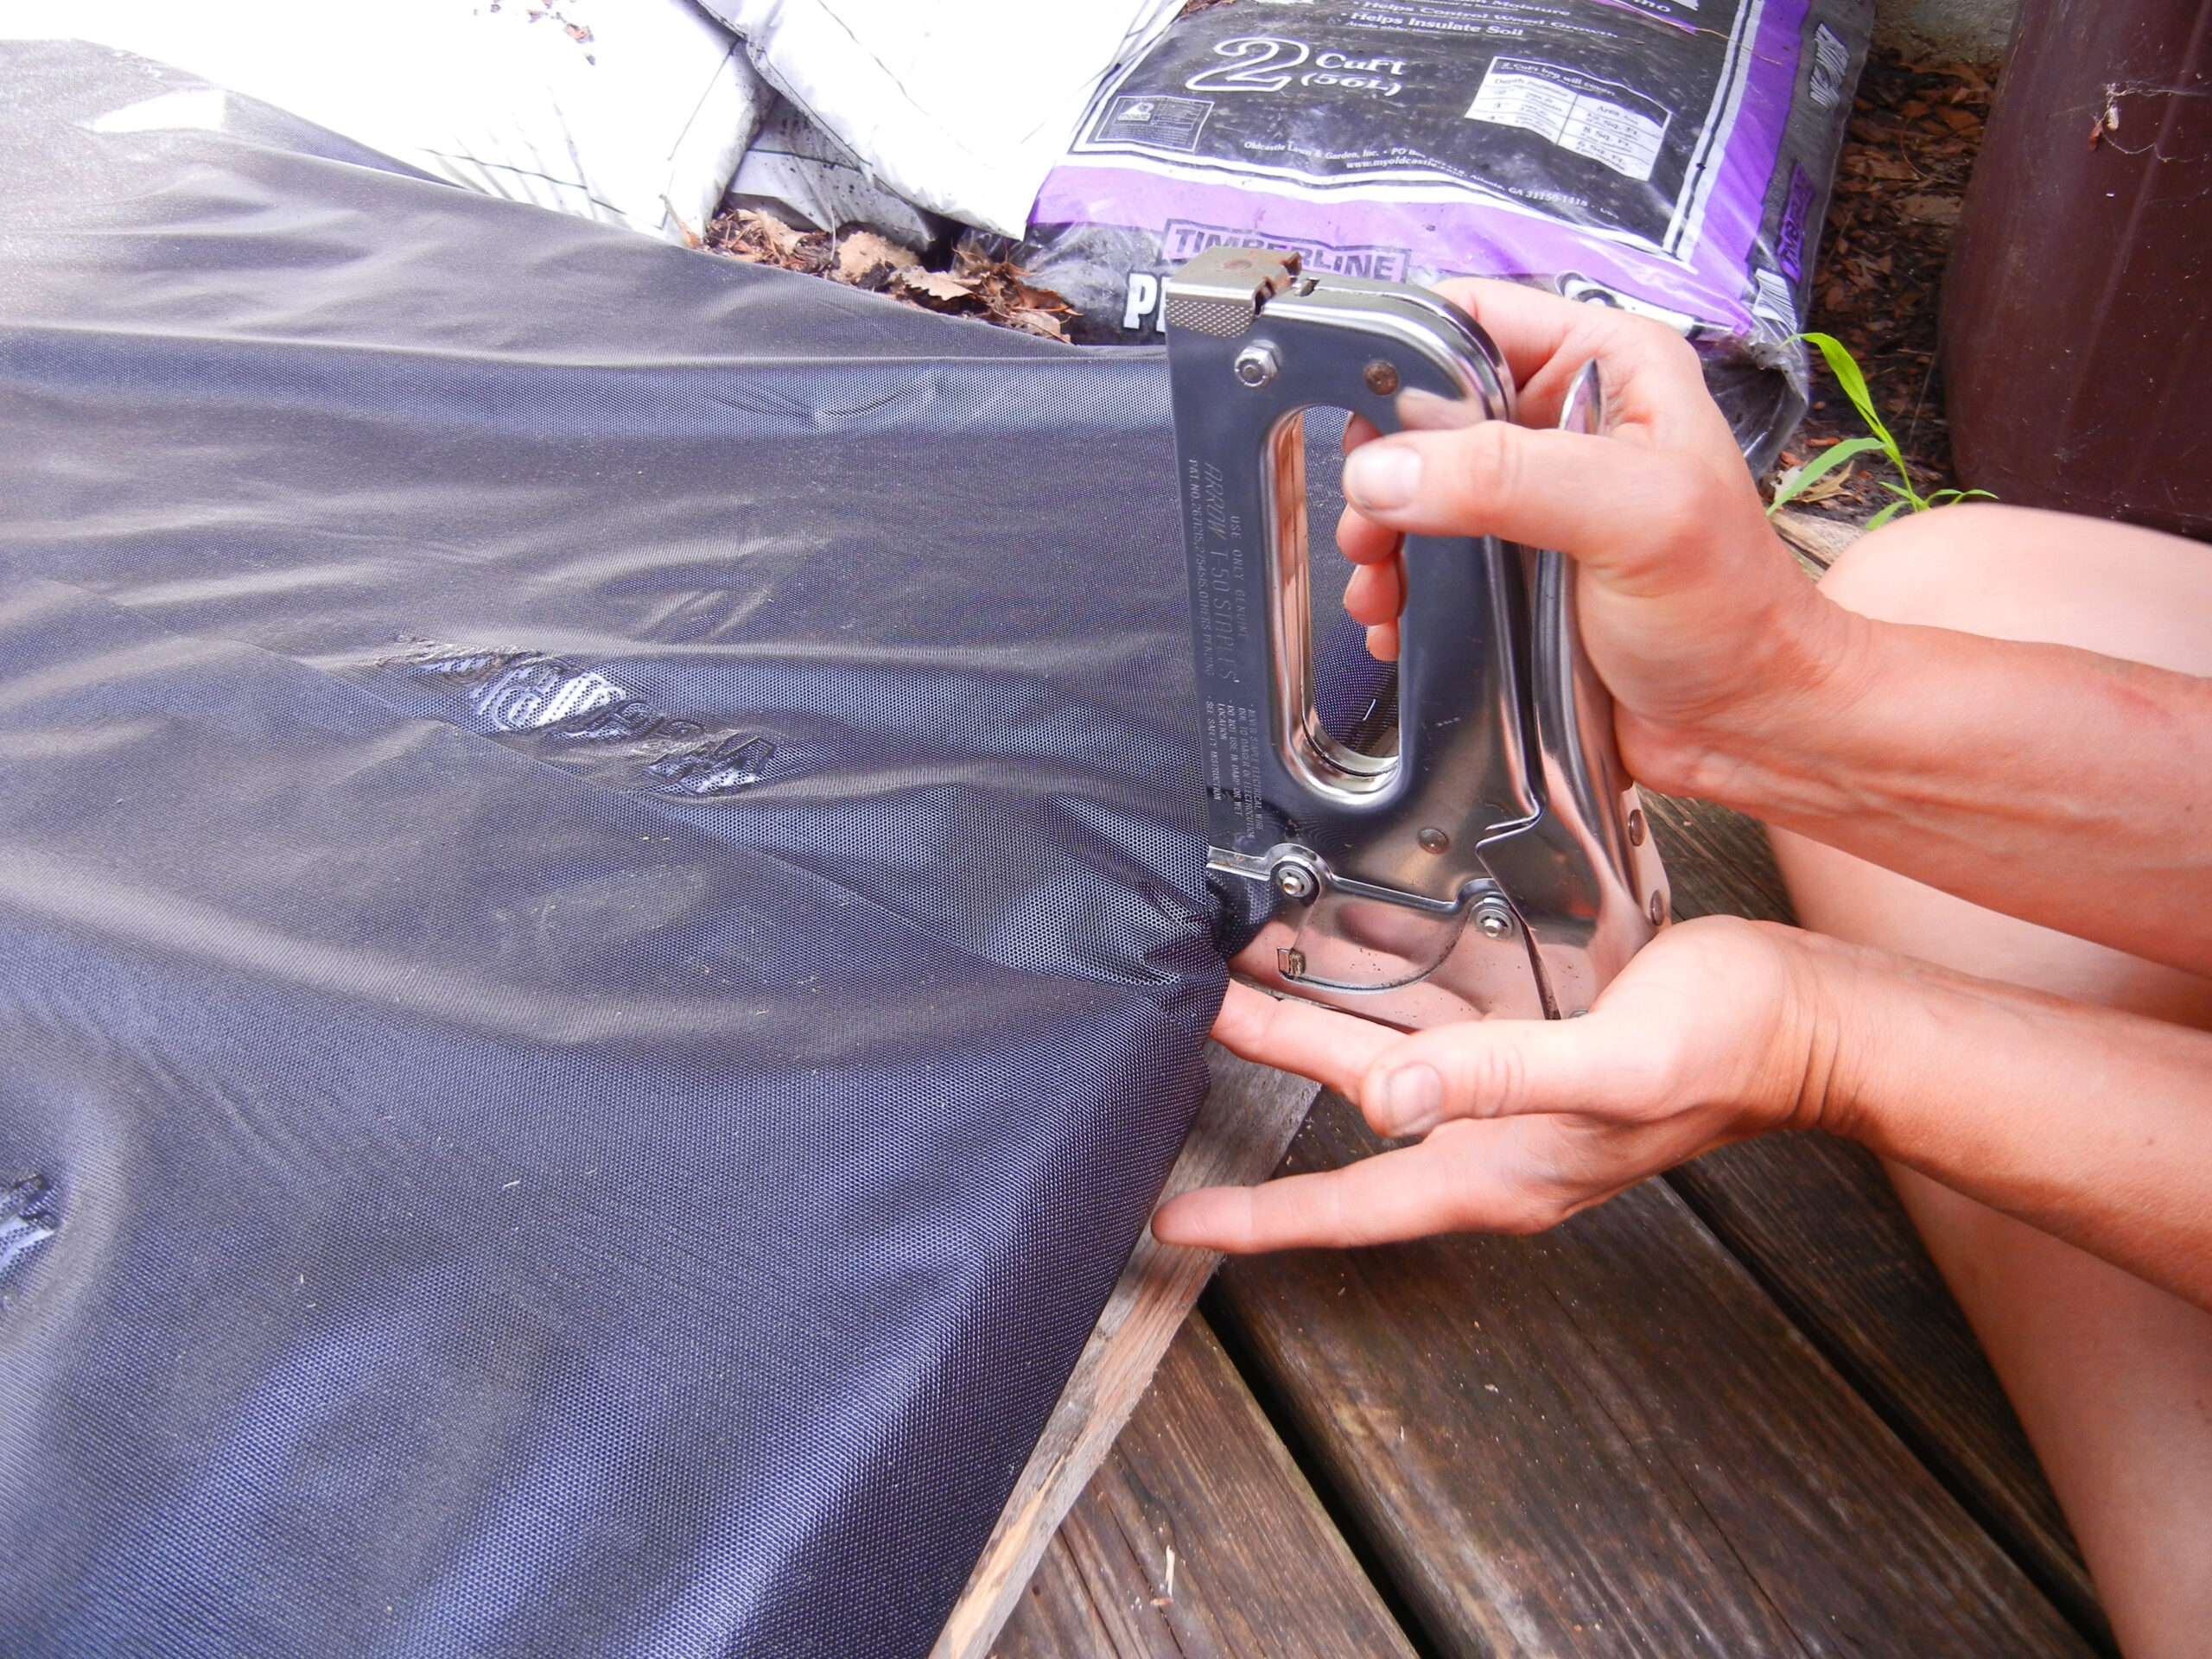
Using the black landscape fabric and staples, build pockets that are around four to six inches deep to hold soil and plants. Again – judge creatively where the plants should go on the pallets – it is different for every pallet as each pallet is shaped differently. Try to staple landscape fabric in a way that will prevent soil from leaking out the sides and front.
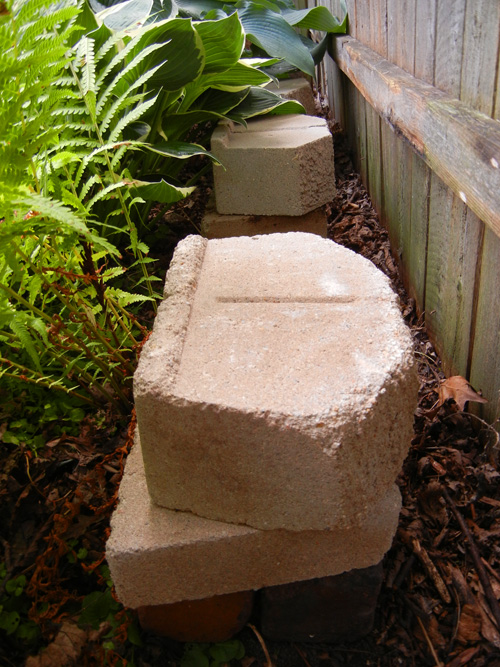
7. Create a Support Foundation
Use old bricks or landscaping stone to build a foundation for the pallets so they are lifted above the plants at the back of the fairy garden.
8. Mount pallets on Bricks
Place pallets on top of bricks. We secured the mid section of the pallets to the fence behind it by using zip ties.
9. Plant the Pallet Pockets
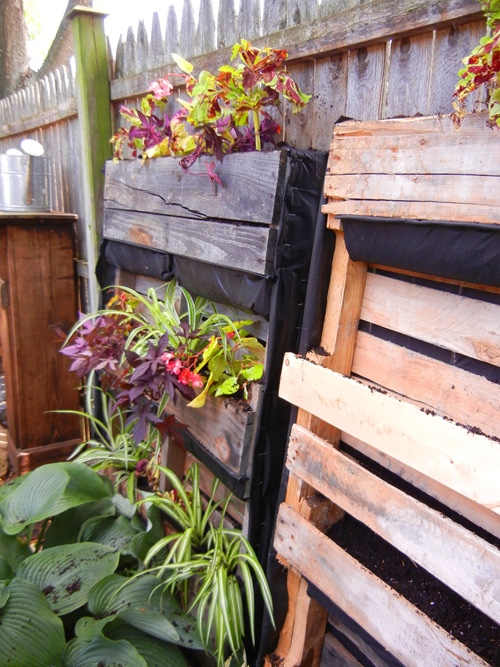
Fill the pallet pockets with soil, then begin placing plants tightly into the pallet pockets. If you cannot determine if the pallet wood has been chemically treated, then I would be cautious about planting edible material against it as any leaching could be unsafe for your family to eat.
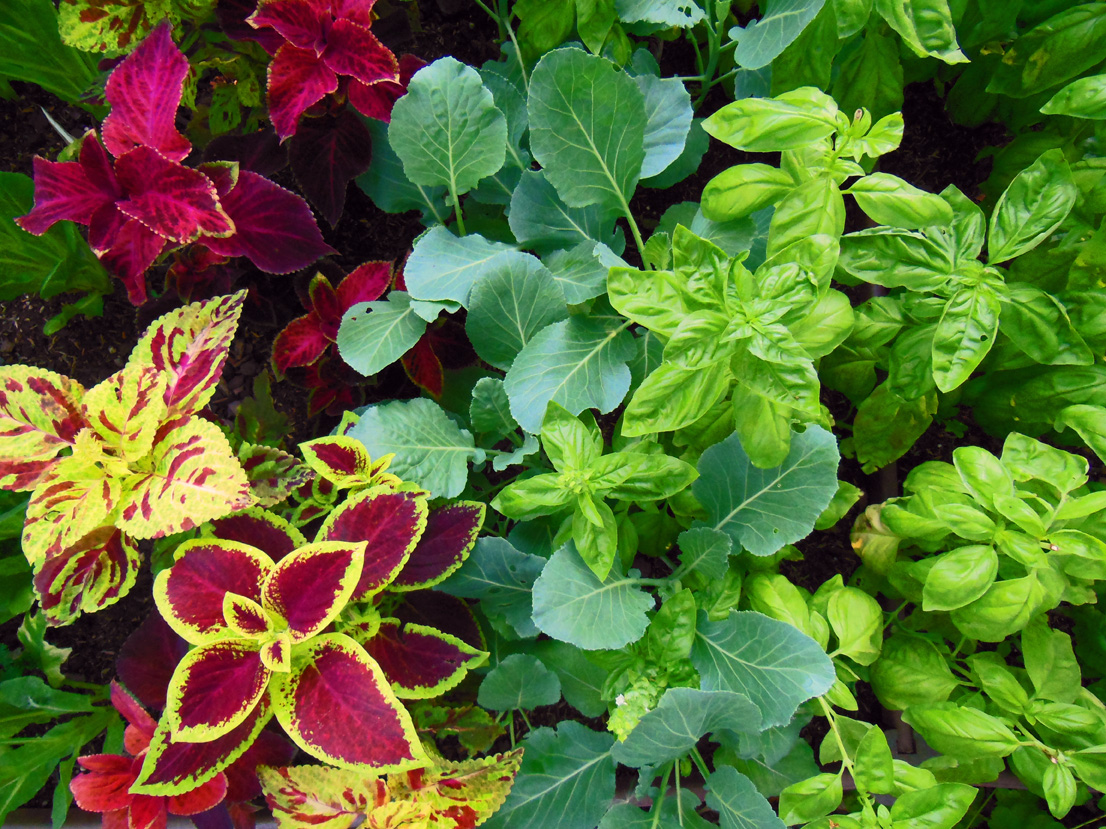
We chose to purchase end-of-the-season annuals from a local nursery for our display:
- Coleus ‘Kong’,
- Begonia ‘Gryphon’,
- Sweet Potato Vine ‘Blackie’,
- Impatiens, and
- Spider Plant
10. Water Pallet Planters Well
11. Add Fairy Houses and Fairy Garden Doors
Finish design by decorating the garden with little houses and fairy accessories – we found ours for no cost through Freecycle.org and friends.
Maintenance for the amazing fairy pallet garden is simply regular watering throughout the season with a clean out and replant in the spring.
Want fairies in your garden? Consider doing the “reduce, reuse, and recycle” thing, but please be careful of chemical exposure. Wear gloves and do not plant vegetables or other edibles in your pallets. Building a fairy garden from pallets and other reusable and sustainable items. A few pallets, a few logs, a few perennials, and a whole lot of love will help make a beautiful whimsy-filled home for your garden fairy kingdom.
*Note – Because the FTC requires it, I am noting that Ball Horticultural supplied the plants grown in the garden this season. I write many instructional stories and videos with these incredible products.
Frequently Asked Questions below —
A fairy garden is a whimsical garden that contains a home for flower fairies. Normally it is created in miniature for best effect. A fairy garden is an artistic rendition of fairy magic.
Utilize the stump and surrounding area as a special garden bed. Fairy gardens work well around old stumps. It is easy to place fairy garden plantings around the stump and utilize the stump itself as an ornamental feature.
A pallet garden is simply a garden created out of a pallet. It can be used vertically or placed horizontally. One must be cautious about utilizing pallets for vegetable plants as a pallet is often sprayed with chemicals. Understanding where your pallet originated is important.

Love the fairy garden. The planting of your verticle space is quite appealing. I have a redo section of my garden for spring and this gave me a great starting point.
I loved your fairy garden before. I love this one, too!
Totally wonderful corner of the garden now – thanks for the nice words!
Shawna
Hi! I love your new fairy garden, and your blog/website in general! I was wondering if you could post pictures and the plans for the original fairy garden? My daughter is 6 and I am converting a shady corner of the yard into a fairy garden and would love to see what you had done when your daughter was younger!
Thanks in advance,
Sarah
Hi Sarah,
I do not have the original story published. I will go back, find it, and see if I can publish it for you. 🙂
Thanks for the note!
Shawna