How To Plant an Elevated Garden Bed
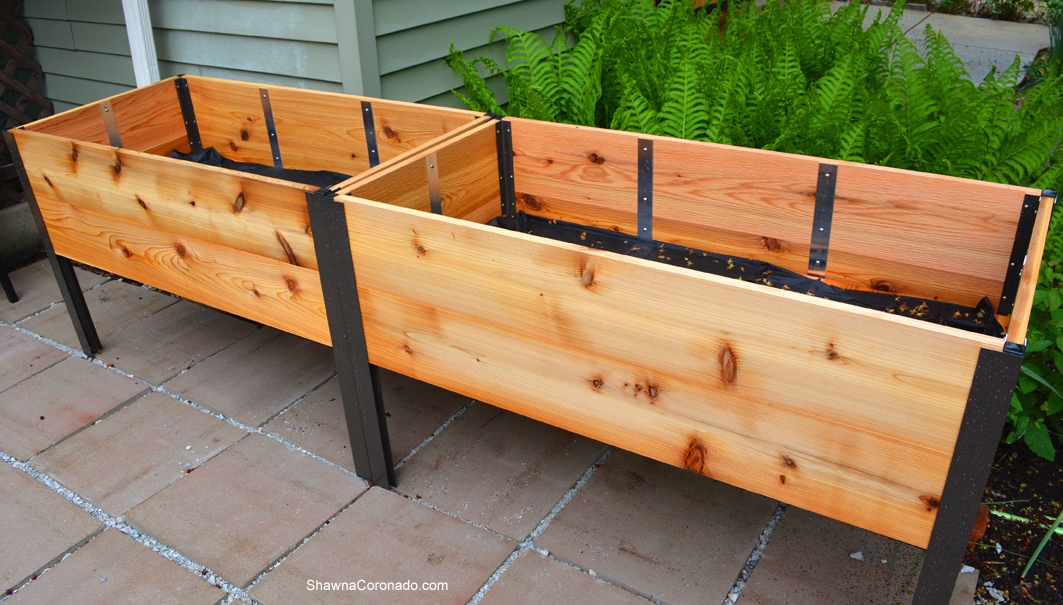
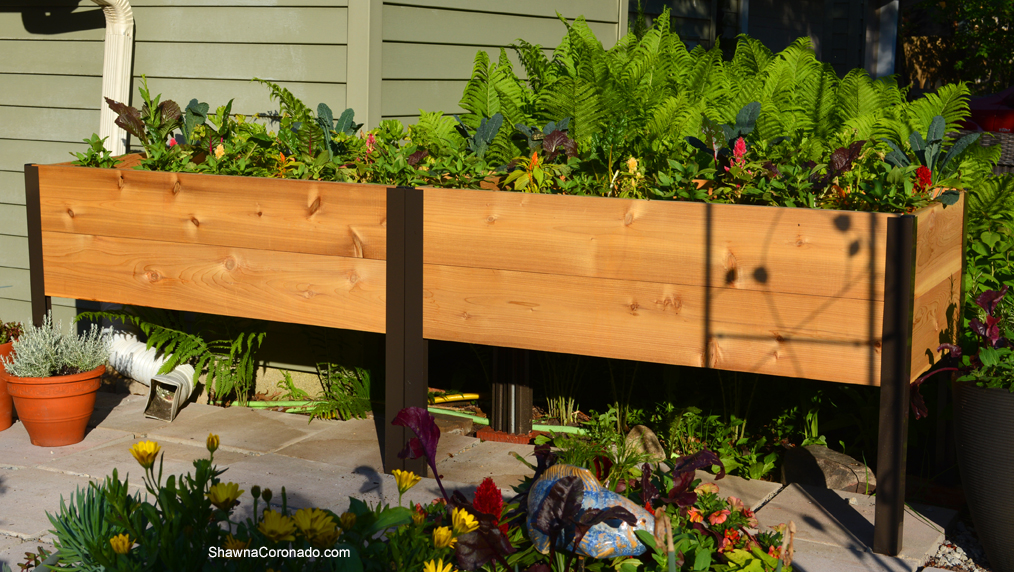
Surviving degenerative osteoarthritis or other physical conditions means that you can still have an amazing vegetable garden. One of my goals since being diagnosed with osteoarthritis has been to change the way that I garden so I can still stay active, but not hurt myself. Asking for help has been the chief change — trying to do it all on your own is simply unreasonable. This week, with help from my youngest daughter, we assembled and planted an elevated garden bed. Elevated cedar planter boxes look great on a front or back patio.
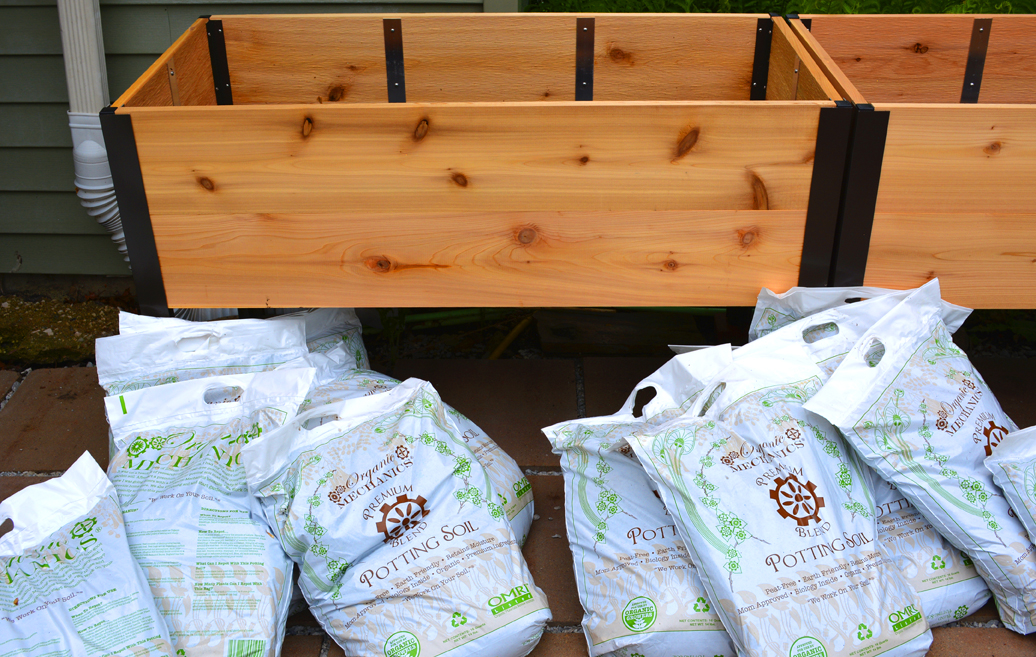
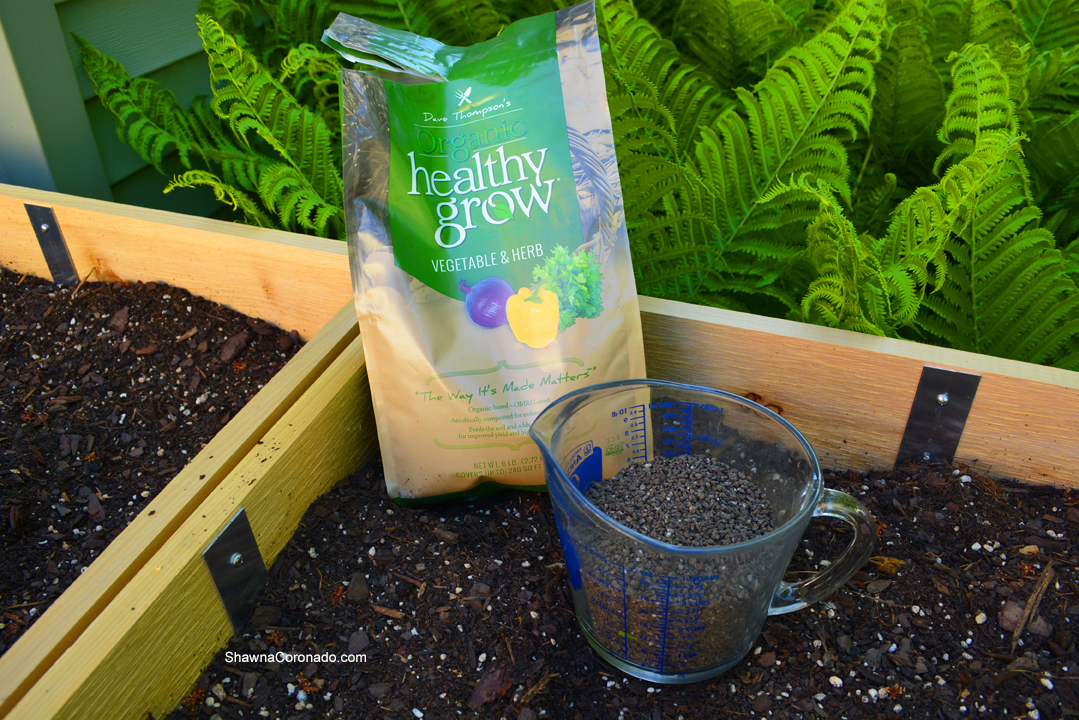
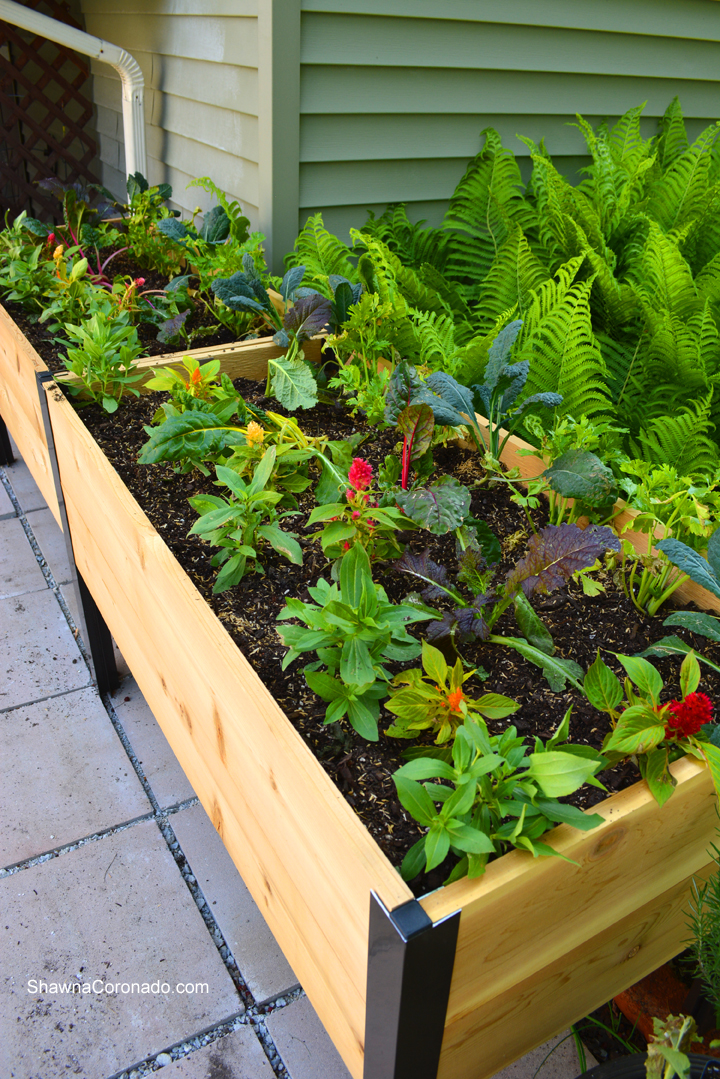
Last fall I had a dear friend help me remove all the plants that used to be in this space. This winter I hired a landscaper to lay patio bricks in the place of the garden with the goal of using the space for elevated gardening instead of the more traditional back-breaking gardens I had previously. Elevated gardens help people who cannot bend and lift as easily, but they are also super-attractive for everyday gardeners who want to raise up the garden closer to eye level. Assembling two elevated beds took less than 15 minutes each. I filled them with Organic Mechanics Soil and Worm Castings, then mixed in a healthy dose of organic fertilizer.
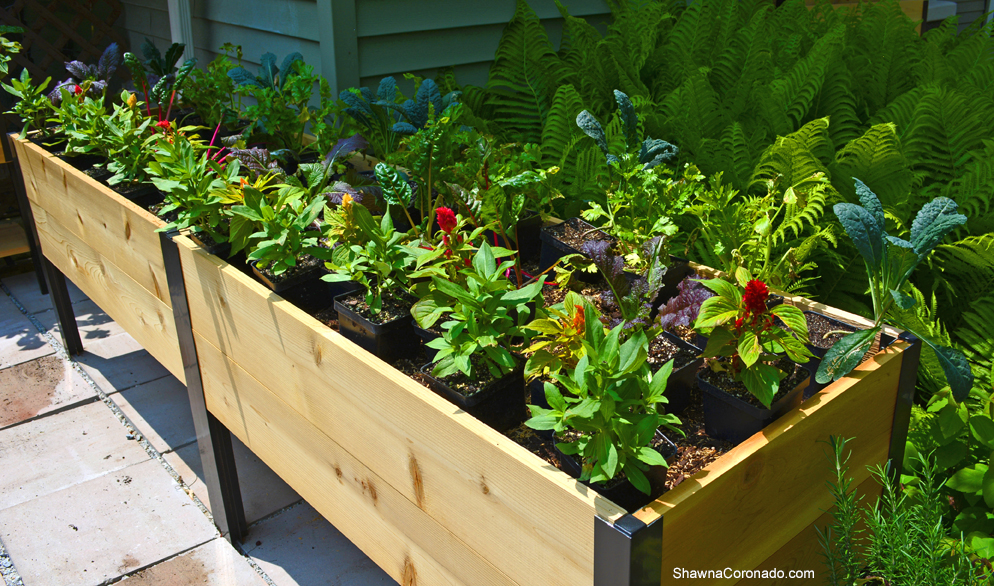
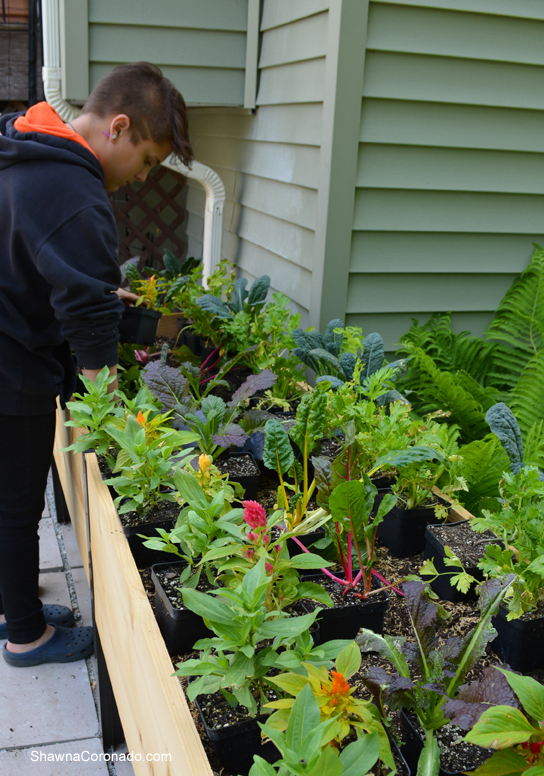
This season I installed a marvelous selection of vegetables and flowers. Before planting the elevated garden beds with my test plants, I arrange them in the order I want. I prefer to plant the vegetables closely together. My emphasis is on the shorter flowering plants in the front and taller vegetable plants in the back. By the end of the season, all the plants (see the list below) should be bursting out of the elevated bed.
Plants Used For This Garden
- Black Magic Lacinato Kale
- Bright Lights Swiss Chard
- Deep Purple Mustard Greens
- Golden Self Blanching Celery
- Double Fire Zahara Zinnia
- Ice Cream Mix Improved Celosia
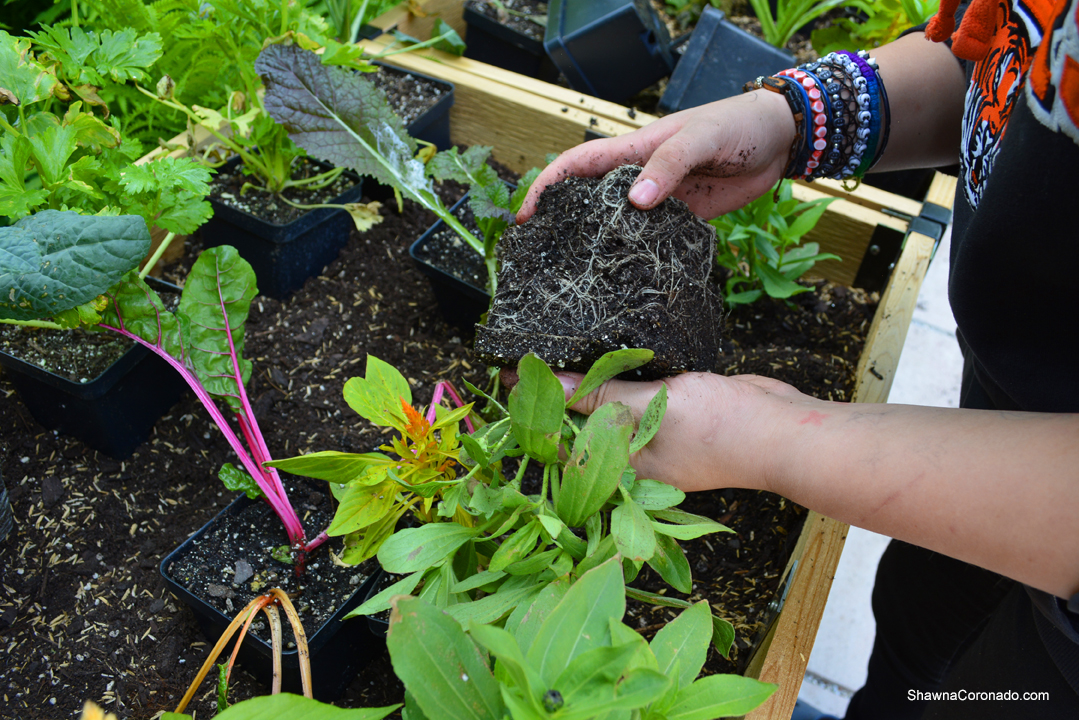
Once the plants are all laid out, it is time to play in the dirt. My youngest daughter volunteered to help me plant – one of her favorite chores in the garden – and she said it was much easier planting in an elevated bed than digging holes in the ground and planting the more traditional way. She pulls the plants out of their cartons, loosens the roots, then gently buries the root ball in the soil. Asking for help, even from my own family, has always been such a challenge for me but I’ve noticed that my pain level after gardening has gone down significantly since I’ve started sharing projects versus doing them all by myself. Working with my daughter to assemble the elevated beds was also a wonderful time spent together.
If you want a solution that is easier on your arthritis or back condition, elevated garden bed planting is certainly the gardening technique to try. Planting the beds for this season’s mixed ornamental edible plantings was super easy and I will keep you updated on the progress through the season. Happy Gardening my friends!

Elevated Garden Bed Growing for Food Security


Love this.
I have pots hanging off my fence!
Not as pretty as yours, but veggies growing.
Thanks Laura! Keep on a gardening!!
Very beautiful construction!
Where did you get the elevated beds? If you made them yourself, do you have a list of required materials and directions? Really like the looks of these beds.
Hi!
These came from http://www.gardeners.com – Gardeners Supply. They were easy to assemble!
Thanks,
Shawna