How To Build a Tiki Hut Garden Shed for Under $100
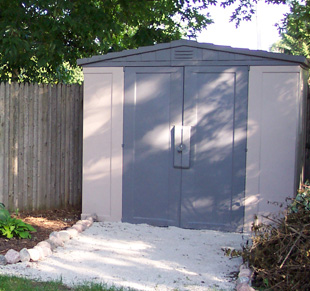
For years I have had one of those cheaper-than-cheap plastic resin sheds in my back garden [below right]. Well meaning visitors would say, “Nice garden. But what about that shed?” Well alrighty then. What they were actually saying was, “Seriously? What’s with the horrifically ugly gray thing in your garden?” Initially it served its garden storage purpose, but after a few years of harsh Chicago summers coupled with a few years of even harsher northern winters, it became an unwelcome eyesore. Plastic resin sheds are often recyclable, but I could not afford to replace it and wanted to stretch out the sustainability a bit and see how long I could make it last. I had to come up with an ingenious solution to beautify the garden. The answer to my ugly gray shed problem? For under $100 we converted the plastic building into the cutest little tiki hut ever by covering the shed in reed and straw. All the supplies are found at home and garden stores across the nation, making this project a super easy one you can do yourself.
How To Convert Your Garden Shed Into A Tiki Hut
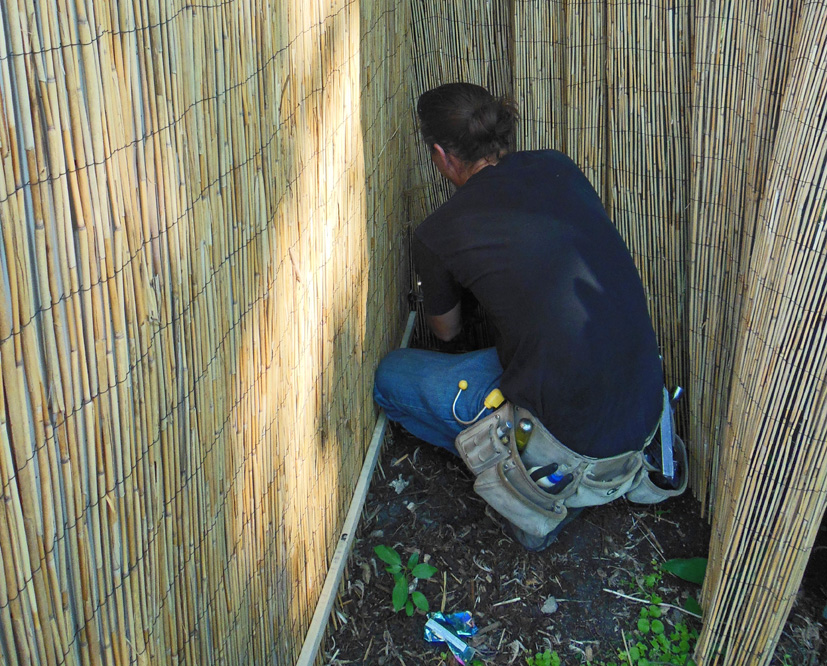
Labor – Find someone who knows how to saw and drill. This could be you. This could be your neighbor. This could be your Grandma. In my case, I highly recommend guitar playing carpenters, so I chose my good friend and local rock star, Ricky Rolon [photo right], to bring my vision to life.
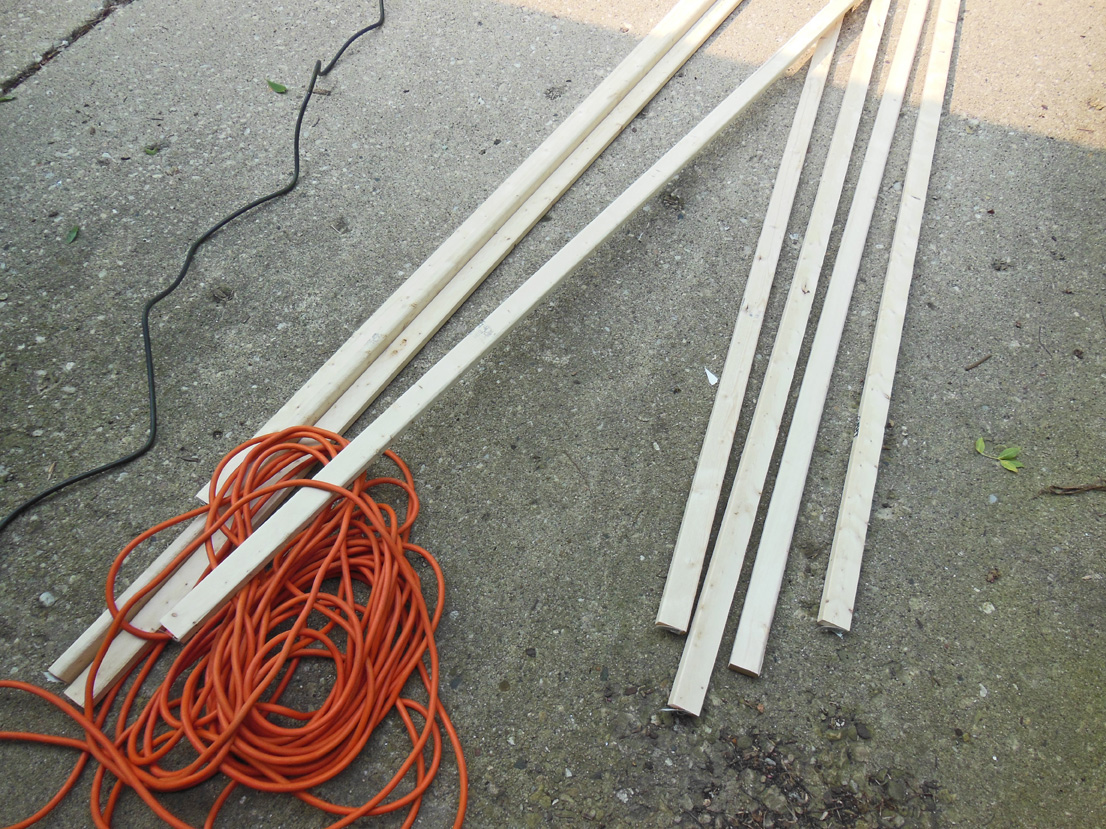
Supplies – You will need the following tools – a saw, a drill, 1 ½ inch galvanized screws, wire cutters, scissors, and a stapler. Additionally, because sheds are all different sizes, you will need to measure then estimate your need for the following items – thin strips of 6’ long wood trim, reed fencing (we used 6 foot high reed fencing), a straw seed starting mat (we used Turf Starter Seed Germination Blanket).
How To – Measure twice to make sure you have the proper length of reed fencing and wood trim.
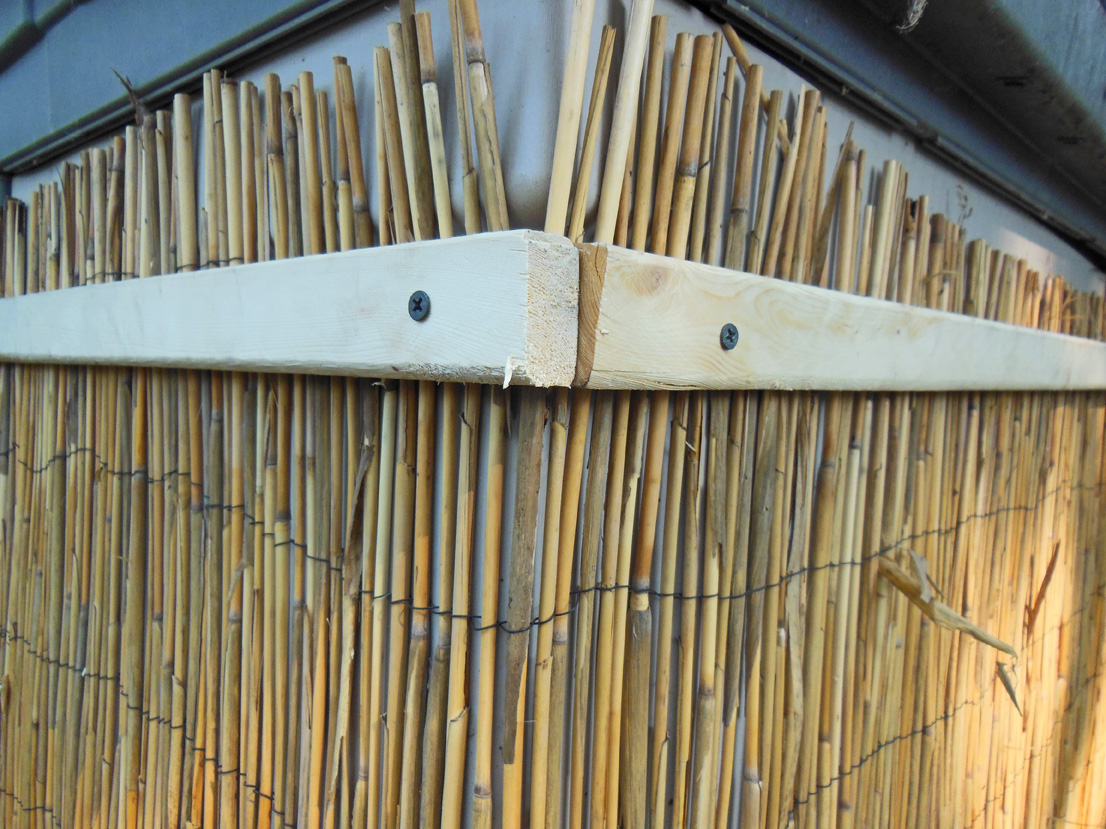
1. Use a saw to cut the wood trim pieces enabling placement at the top and the bottom of the shed. Place reed fencing against shed wall. Drill trim evenly onto the reed fencing around the bottom and top of the shed, securing it to wall [below].
2. Cut extra reed fencing to size with wire cutters at the edge of the building [above].
3. Place custom measured and cut reed fencing against each of the shed doors. Drill trim onto the reed fencing, securing it to the individual doors.
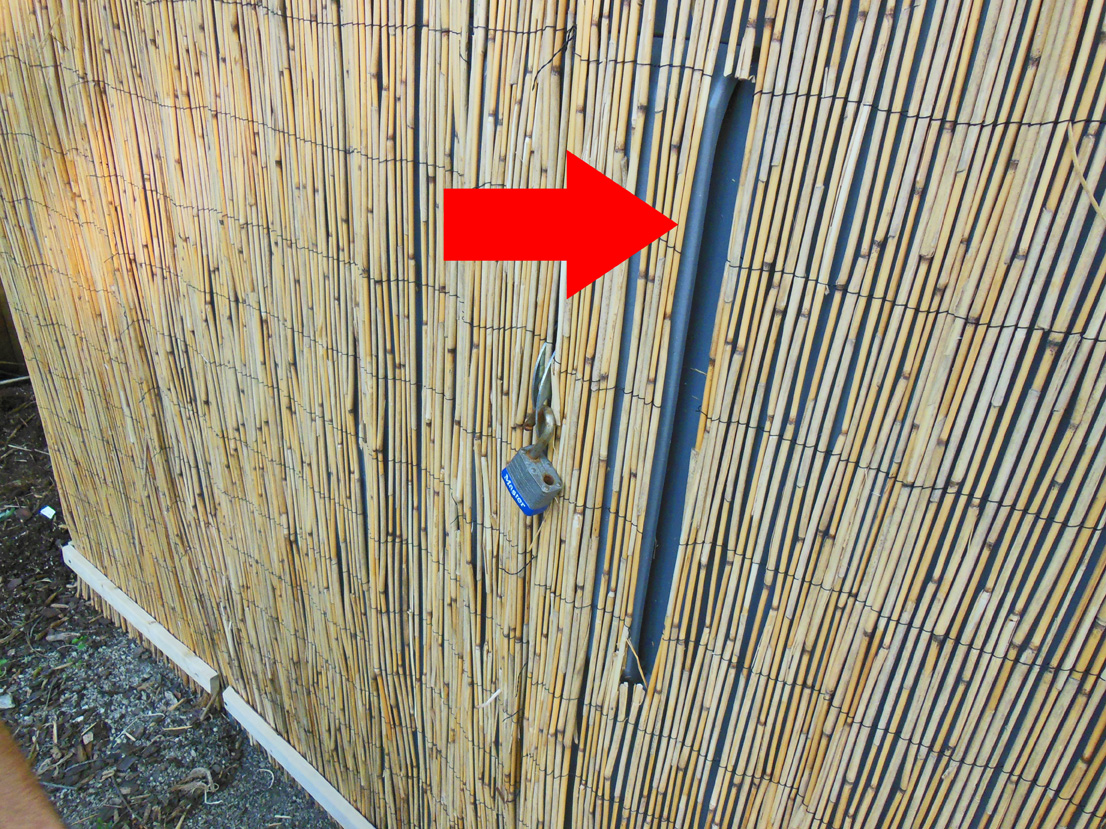
4. Using wire cutters, cut reeds out of the handle area so you are able to pull the doors open easily without damaging the new covering [see above where arrow is pointing – that’s the handle].
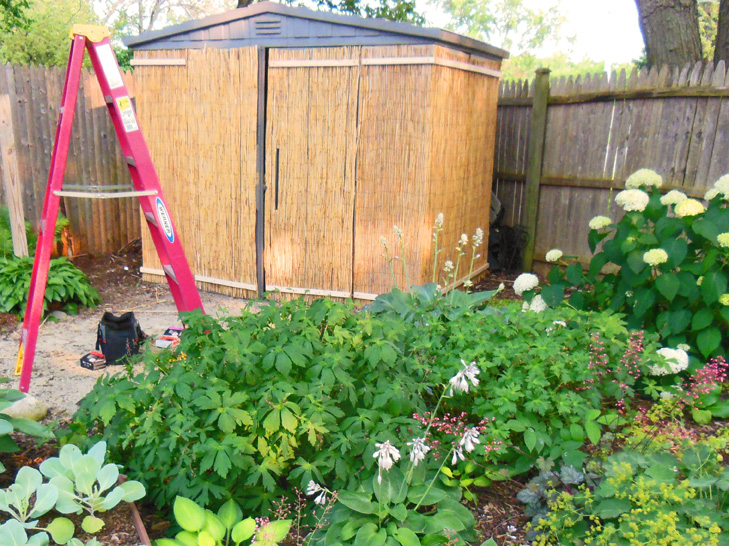
Your trim should now be holding the reed up to the wall on all sides of your shed [see below photo]
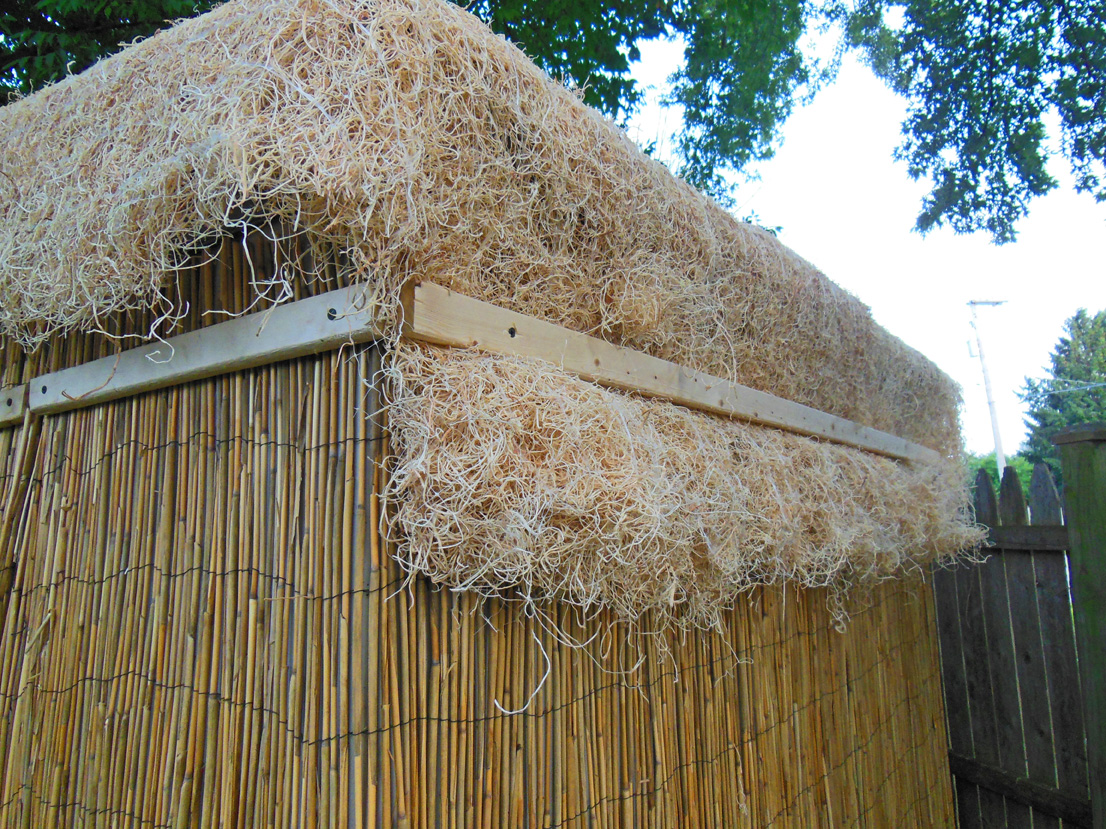
5. Roll out the straw mat over roof of the shed until covered with extra hanging over the sides [see above]. You might have to use several layers of matting. We used two layers. Hold mat down with a piece of trim set over the wood you already have drilled into the wall that supports the reed fencing. Drill trim into the existing trim with straw matting between to secure straw mat so the wind will not rip it off of the roof.
6. Staple remnants of matting onto the roof and wood trim to hide the wood trim on the side of the shed from showing. Then trim the “hair” on the roof up with scissors so it looks even.
~ ~ ~ ~ ~
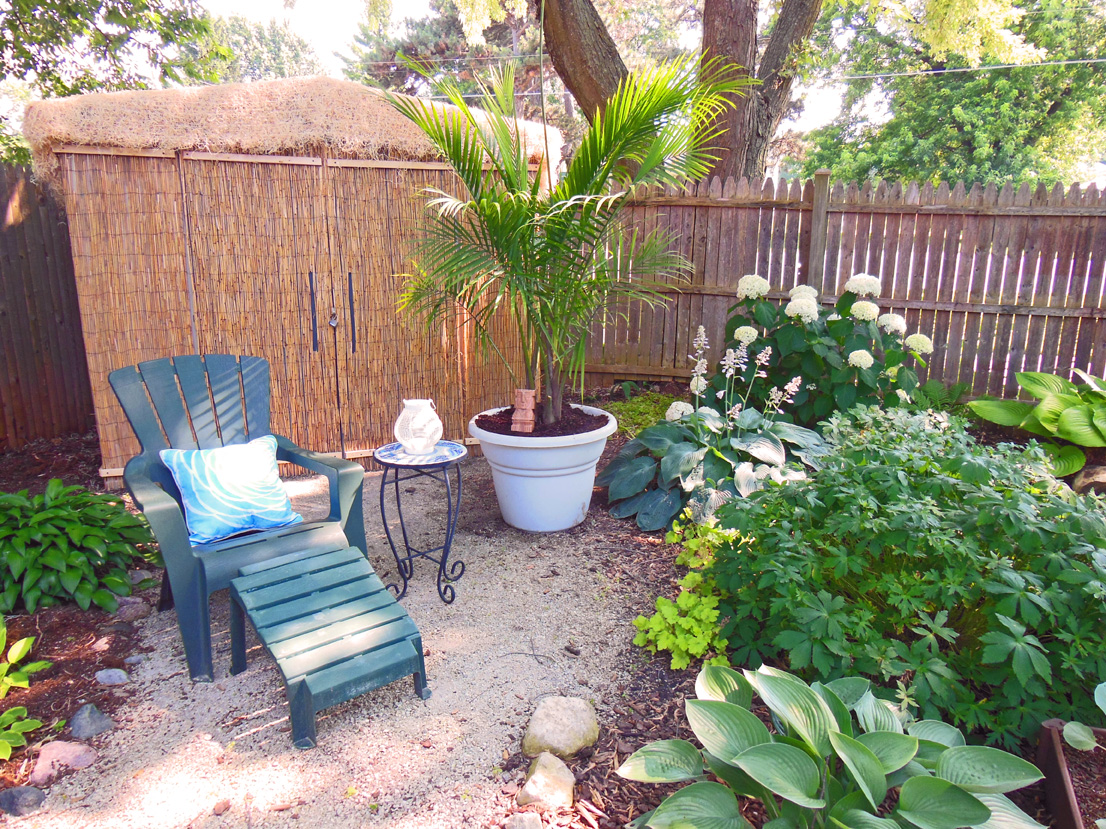
This project was super easy and costs under $100 to put together – our specific project cost $72 plus beer and pizza for Ricky. Gotta keep the carpenter fed. With the addition of a reed fence and straw roof, my ugly plastic resin garden shed has been converted magically into a cute little tiki hut [see top photo]. With the addition of a few tiki toches, some chairs, and a palm tree I have the perfect garden spot to enjoy a cocktail with my friends, family, and a certain special rock and roll carpenter.








Love it!! Looks so inviting!
Thanks! A good solution for a difficult corner!! 🙂
Wow, cool idea! Now I just need to find a guitar playing carpenter!
Hey, what is that substance (light beige) that you are using for your “patio”?
Do you mean what’s on the ground? That would be limescreening, which is tiny little lime stones crushed into little bits. They sell it here in the Chicagoland area.
Hello, I was wondering where you got that straw matting for the roof. I cant find it anywhere!!
Hi Alan. Some independent garden centers have it – it will be in the grass seeding area ordinarily. Just ask. I found this particular straw matting at Home Depot because none of the local garden centers carried it. I found it outside in the area where they sell grass seed and wheelbarrows and other matting.
Thank you very much! 🙂
Just 1 question about this great idea: how does it do over the winter? I live in the Midwest and we have snow & wind here. Would that still work for me?
Hey Shawna, nice site. I was wondering if you planted anything on top of of your shed. We have to paint the roof of our shed every year to keep it looking presentable due to the neighbors huge pecan tree continually shedding it’s branches. Thought this might be a solution.